SLIDER

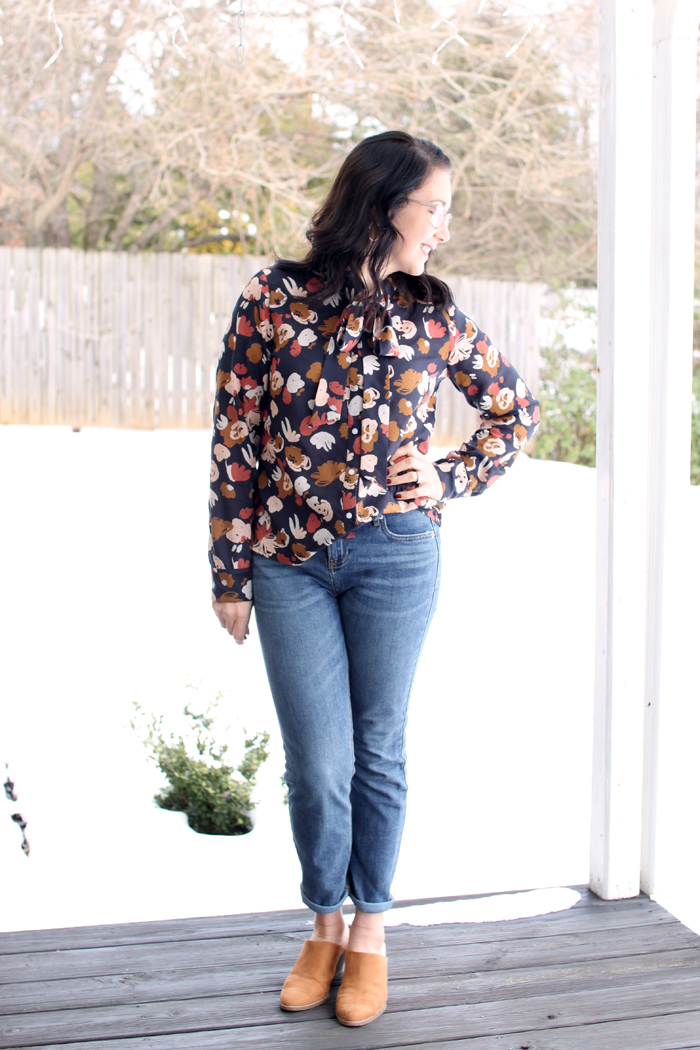
Atelier Brunette Cheyenne with Pussy Bow Collar // Imagine Gnats Contributor

Thursday, December 13, 2018

Atelier Brunette Cheyenne with Pussy Bow Collar // Imagine Gnats Contributor

Hi friends!!

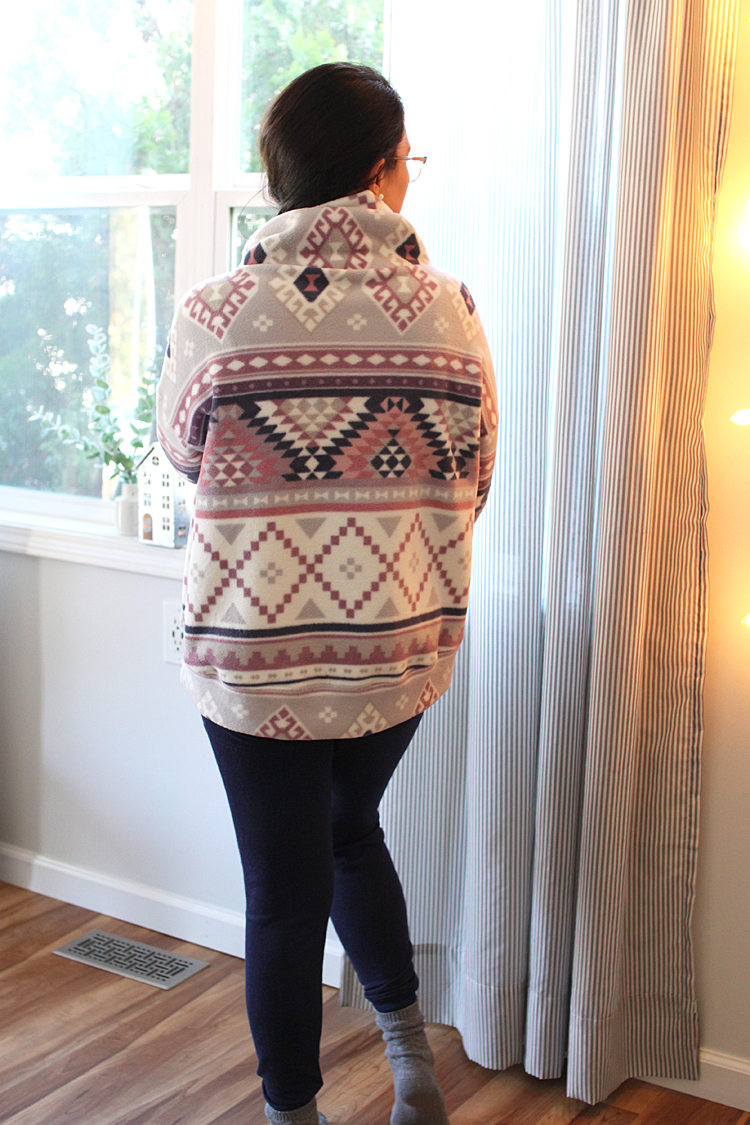
Today I'm over at Imagine Gnats, sharing my second (consecutive) Cheyenne Tunic! I LOVE this pattern, and I used the most fun hack on this one!!

You guys MUST go and find out about this amazing fabric and where to find the tutorial for this gorgeous hack!

It's so so good, so RUN HERE and check out the post. 💖

Atelier Brunette Cheyenne with Pussy Bow Collar // Imagine Gnats Contributor

Atelier Brunette Cheyenne with Pussy Bow Collar // Imagine Gnats Contributor

Atelier Brunette Cheyenne with Pussy Bow Collar // Imagine Gnats Contributor

Cheyenne Tunic // Sewing For Women

Wednesday, December 12, 2018

Cheyenne Tunic // Sewing For Women

Hi all!

Today I present to you, my very first collared button up shirt! Complete with sleeve plackets and beautiful cuffs. Having already chatted with many of you on Instagram, I know it may come as a bit of a surprise that I haven't sewn a proper "shirt" up until this point!

Cheyenne Tunic // Sewing For Women

It was my deep, dark secret. A silly fear that I hadn't really wanted to face until recently. Recently I have been pining after a GOOD plaid button up shirt!! So much so that I nearly caved and bought one from a store. But I kept telling myself no, because I have several pieces of fabric in my stash that would/will make really great shirts!

Cheyenne Tunic // Sewing For Women

I don't know how things go for all of you, but sometimes, I have so many ideas crashing around in my head that I feel like I'm running in a thousand directions at once, starting the planning process for one project, and then yelling "squirrel" and running the opposite way!

Cheyenne Tunic // Sewing For Women

Because of my tendency to do this, I also find myself with a well stocked fabric and pattern stash. Lol! And to be honest, I'm really quite happy with this arrangement. It allows things like this particular Cheyenne Tunic to happen!

Cheyenne Tunic // Sewing For Women

I should really start my story way back in March of this year. I did attempt a Cheyenne Tunic, View B, the popover version, during a Cheyenne sew-a-long hosted by Grace of Maker Mountain Fabrics. It ended up in a very failed project, unfortunately. It was a big combo of things. Mostly my fabric choice. I was a super inexpensive cut that I bought online years ago and really didn't care about it, so I thought it would be a great "wearable" muslin fabric to use for my first attempt at the pattern.

Turns out, it was a huge reason why my end product wasn't wearable at all. Ha! But let's not purely blame the fabric. There were several other things that made me chuck it into the fail bin. I have really never, ever been a fan of popover style shirts on myself unless they were quite fitted, so that should have been a forethought. But, like I mentioned above, I was scared of the silly collar stand.

Guys. I truly think collar stands are easier than the popover was!! The last reason why I didn't like my first attempt, was sizing. I'm between a size small and medium, and went with the medium. It was just too much fabric, especially around my mid-section and lower back. I also made some pattern adjustments that I recently found out, just didn't work for me.

So let's fast forward 9 months to this project!! I had an upcoming project for Imagine Gnats (that is going live tomorrow!!), the fabric I was to use was amazing, and I needed to choose the exact right pattern for the project. I knew that I really wanted it to be a button-up shirt, and was considering the Cheyenne Tunic and the Montana Shirt. I had settled on the Montana Shirt, actually.

But then... I saw a completed Cheyenne on Instagram, just days before I was going to start working on this project and immediately switched gears! See... Squirrel...

SO. I already had my unwearable muslin project under my belt, and knew what changes I needed to make to "hopefully" make this pattern an absolute win for my body! And with that knowledge I dove in head first.

A month or so ago, I had been chatting with Jen of Desert Blooms about fitting patterns, and she mentioned that she usually removed length in patterns between her waist and hips for a better fit. This was a true light bulb moment for me!!

Cheyenne Tunic // Sewing For Women

I should mention that having too much fabric in my mid-section and lower back is a VERY common problem for me in all button up shirts I've ever owned. It's also a big reason why I've stayed away from wearing them, almost ever, because I never liked how they fit. I thought it was just because that's how I was shaped and they'd never fit me! I'm shaking my head at myself now at how silly it is to still think that after so many years of sewing for myself.

Cheyenne Tunic // Sewing For Women

Back to the light bulb moment; I had thought I would need to do a sway back adjustment on my current pattern to remove that excess fabric. It turns out that I was literally just removing length in the wrong place! I almost always have to shorten shirt patterns, especially Hey June Patterns. This time, instead of cutting at the indicated lengthen/shorten line, I cut 3 inches below that and removed my typical 1-1/2". I was super hopeful that this would take care of my issues, but was still ecstatically excited when it worked!!

Cheyenne Tunic // Sewing For Women


The other fit adjustments I made were to size down to a small, and remove 1-1/2" of length in the sleeves as well. I tried the shirt on after sewing the first seam in the french seams when assembling the arms and side seams. (how many times can I say "seam" in a sentence???) I decided after trying it on, that I really liked the fit and didn't want it any closer fitting, so I resewed the seam with a 1/4" smaller seam allowance.

Cheyenne Tunic // Sewing For Women

Honestly, since this shirt has no darts, the fitting adjustments are super simple!

Cheyenne Tunic // Sewing For Women

The fabric is from Imagine Gnats. It was in the shop last year, and I believe it was a tencel/rayon blend. Whatever it is, it is incredibly soft and dreamy!! I absolutely fell in love with this color-way and had intended to make a simple long sleeved woven tee with it last year for the holidays, and I'm so glad that never happened!!! Lol.

Cheyenne Tunic // Sewing For Women

I also chose my plaid placements based on the shirt I wanted to buy. I got a lot of questions when sharing the sewing process on Instagram about why I didn't cut the plaid on the bias, for the plackets and the back yoke. The simple answer is, I didn't want to! :)

Cheyenne Tunic // Sewing For Women

I really like the look of the lined up plaid, and it was worth the bit of extra effort to achieve it!!

Speaking of achieving it... I PROMISE the plaid lines up across the button placket!! I was in a hurry when I got dressed for these photos and forgot to check it. UGH! All it takes is a tiny shift so that the buttons are centered in the button holes and they line up exactly. Haha, that's my Type A coming out!

Cheyenne Tunic // Sewing For Women

In summary, I'm impossibly proud of my very first Cheyenne Tunic. I've already made a second that I'll show you tomorrow, and I have plans for one more very soon, and who knows how many after that!?

Cheyenne Tunic // Sewing For Women

Cheyenne Tunic // Sewing For Women


Brunswick Pullover // Sewing For Women

Friday, November 23, 2018

Brunswick Pullover // Sewing For Women

Happy FRIYAY!!!!

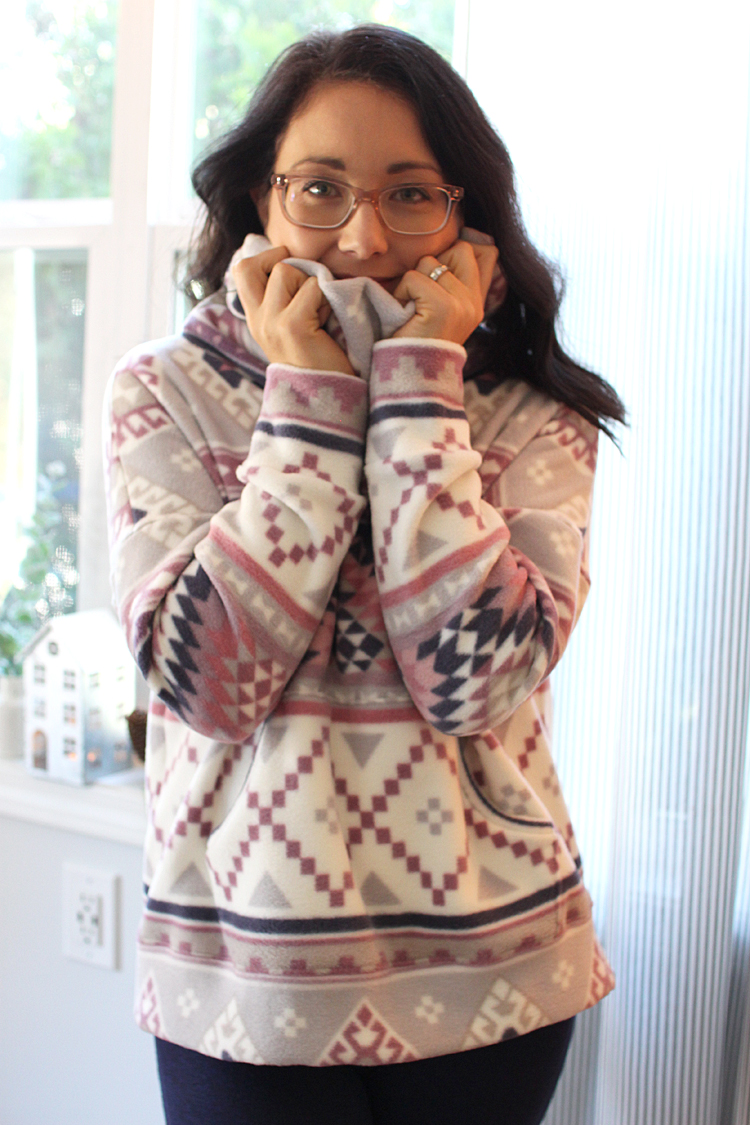
It's not only Friday, but Black Friday, aka; the craziest shopping day of the year... I am beyond happy to stay at home, tucked into my new Brunswick Pullover by Hey June Handmade!


Do you love the madness of going out and physically shopping today/this morning/last night?? I tried it a few years, but it's not for me, to be honest. I'm much happier staying in my cozy house and doing some quiet pattern and/or fabric shopping.

Anyway... Today there are a lot of pattern deals to be had, but at Hey June, there is also a BRAND NEW pattern to be had! And at 20% off!!

Brunswick Pullover // Sewing For Women

I had the privilege of testing this cozy pattern, and I sewed it up last Saturday, and have since worn it at least 4 times. It's been 6 days... That is how amazing it is!!

Brunswick Pullover // Sewing For Women

There are 2 views to the pattern. View A includes the coolest side seam placket detail and zipper pocket on the upper sleeve. These are the types of amazing and cool details one can always expect from Adrianna. There is also a hood option in addition to the cowl.

Brunswick Pullover // Sewing For Women

I chose the simpler View B, since it was best suited for the fabric I used. View B features a nice, deep kangaroo pocket that is ideal for keeping your hands warm, or better yet, holding your phone securely!
Brunswick Pullover // Sewing For Women

Since testing, there has also been a slightly cropped option added for even more pattern versatility!

Brunswick Pullover // Sewing For Women

I sewed a straight size 8, but shortened the bodice by 1 inch, and the sleeves by 2 inches. Shortening Hey June patterns is totally standard for me. The reason I shortened the sleeves by 2 inches is because the final pattern was made to be 1 inch shorter than the test version.

Brunswick Pullover // Sewing For Women

The fit is perfection! However, if I make another version in bulkier fabric with little-to-no vertical stretch, I won't take that extra inch out of the sleeves. The fit is actually perfect, hitting me right at my wrist bone, but I like for warmer clothes to come to the tops of my hands even when sitting.

Brunswick Pullover // Sewing For Women

The sewing of View B is super quick and straight forward other than the kangaroo pocket which needs to be top-stitched to the front. Everything else is finished with cuffs, so no hemming! My fave! I did choose to top-stitch the top of the sleeve seams to keep the fleece laying as flat as possible. Even with all of that, it was still a really quick and gratifying sew.

Brunswick Pullover // Sewing For Women

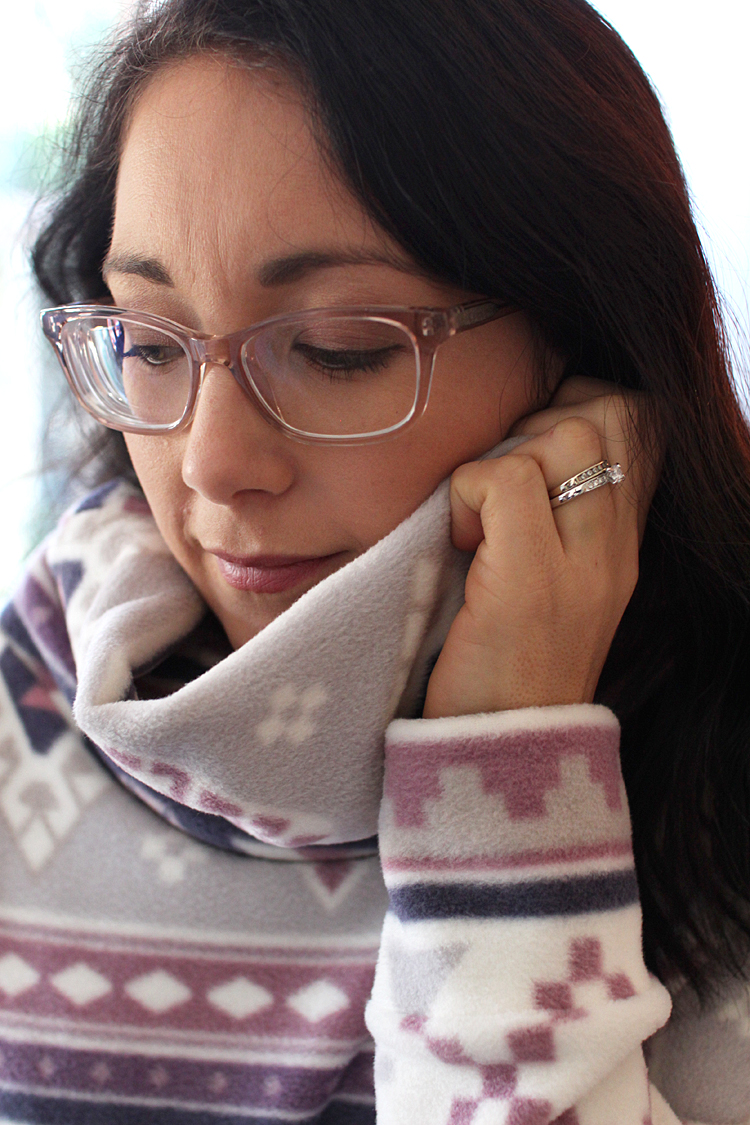
I sewed my Brunswick in blizzard fleece from Joann. Yes, that stuff that people love to hate because it takes over the entire store! BUT. Some of the other testers used fuzzy fleece to sew up a few versions and it just looked so cozy I had to give it a try!

I am here to tell you, that for the ultimate in cozy comfort; I am a cheap, poly, fleece convert. 🙈

Brunswick Pullover // Sewing For Women

I styled it in these photos with comfy pj pants, but later on that day, I had to leave the house so I threw on some skinny jeans and boots and, omg 😍😍😍. I've found my comfy winter uniform for sure!!

Brunswick Pullover // Sewing For Women

This sweatshirt is seriously like wearing a blanket. And in the winter, that's EXACTLY what I want!

The only other slight modification made to the final pattern was to widen the cowl slightly. I think this will help the cowl to lay nicely in slightly more drapey sweatshirt fabrics.

So if you haven't already, head over to the Hey June site and grab your copy, along with anything else today for 20% off!! The sale ends Monday, Nov 26, 2018.

Happy Shopping!!
~Heidi

Links:

Jarrah Sweater // Sewing For Women

Wednesday, November 21, 2018

Jarrah Sweater // Sewing For Women

Happy Hump Day! And Happy Thanksgiving a day early to all my fellow Americans. I had the privilege of previewing Megan Nielsen's newest pattern collection a month or so ago, and I sewed the Dawn Jeans (see post HERE), and the Jarrah Sweater.

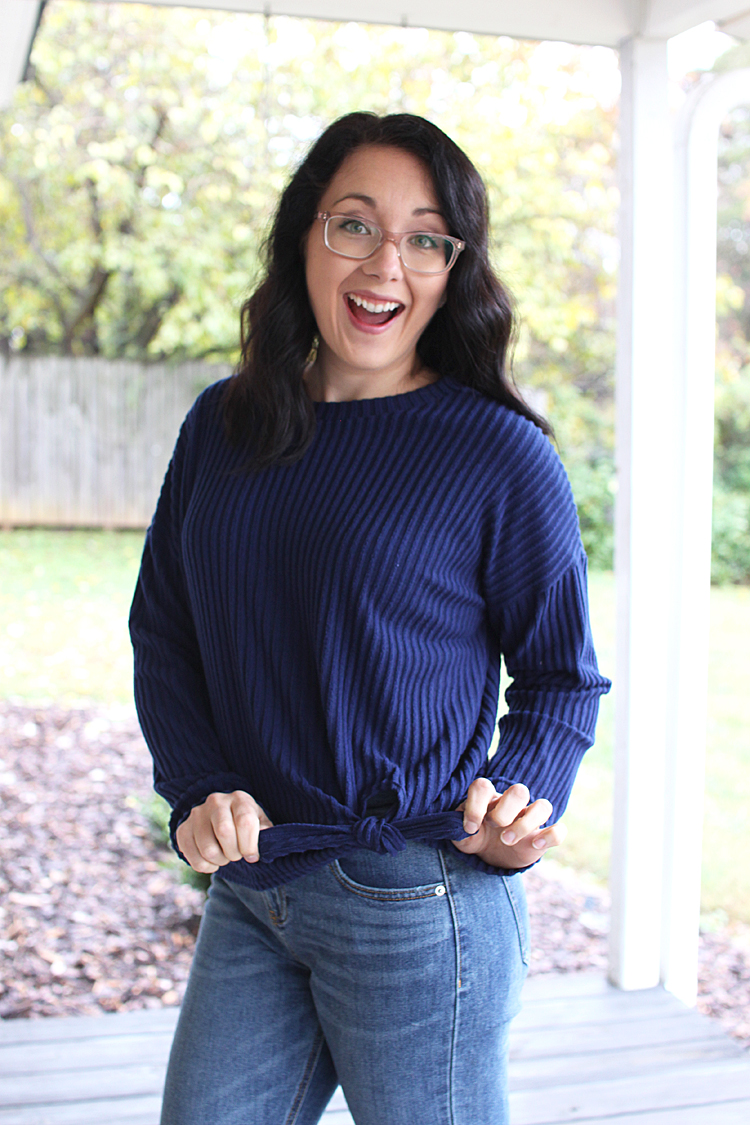
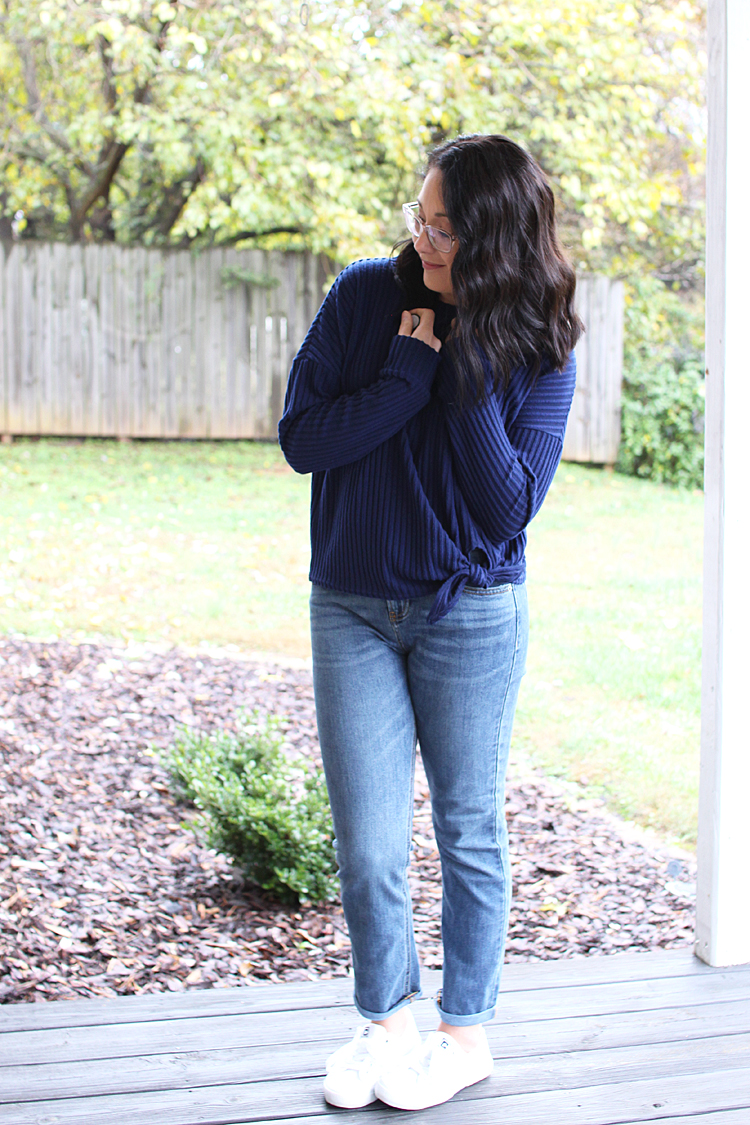
I INSTANTLY fell in love with the Jarrah Sweater, the moment I saw it. The pattern cover has this view on it and I am an absolute sucker for a tie front! But the great thing about this pattern is that it includes a whopping four hem options!

Jarrah Sweater // Sewing For Women

It also includes 2 sleeve, and 2 neckline options. The possibilities are endless to the combo of cozy sweaters and sweatshirts you could make with this pattern.

Jarrah Sweater // Sewing For Women

I directly copied the view on the pattern cover, which is a straight View C. The beauty of this pattern however, is that you can mix and match the components of each view, creating more than just the 4 options shown.

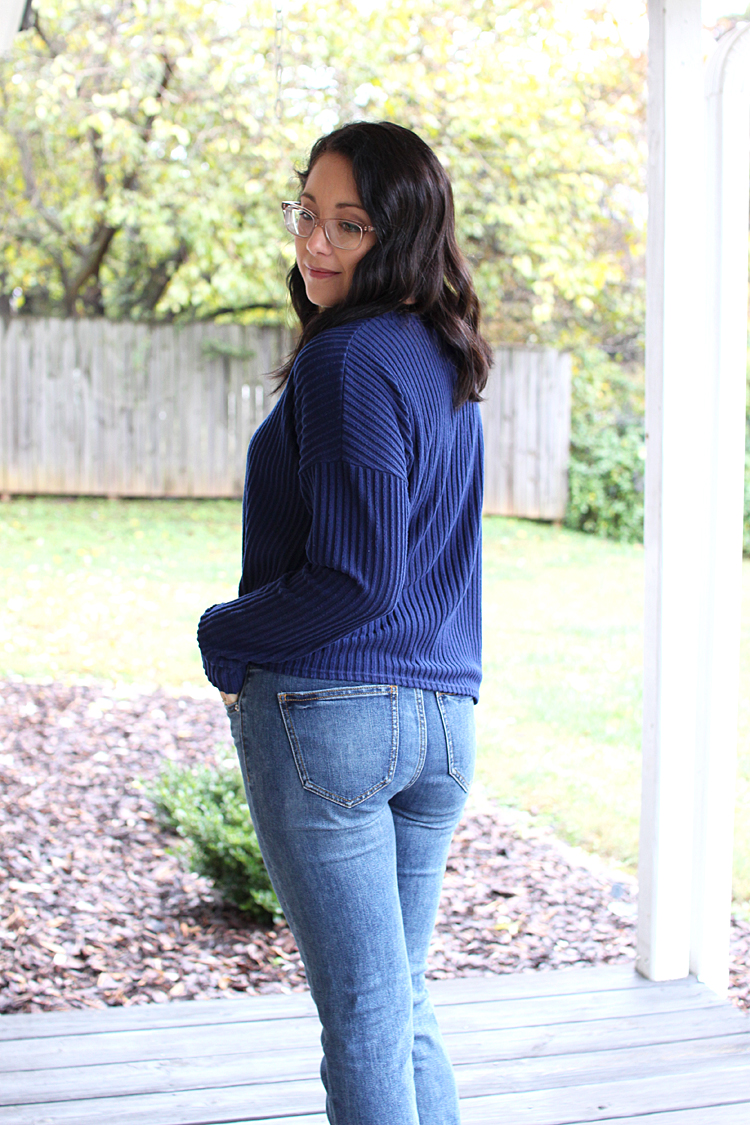
I cut and sewed a straight size 8, with no changes made to the pattern at all. I LOVE the cozy oversized fit! I was waffling between sizes on the size chart for a while, but recently started working hard on my figure again, so I'm actually back down to a size 6. But the cozy fit of being one size up is hard to argue with! :)

Jarrah Sweater // Sewing For Women

View C is ever so slightly cropped, so if you're taller, you may want to keep in mind that it works best with high waisted bottoms. During the colder months, I like to wear a tank under my sweaters, and with this one, the tank needs to be tucked into my jeans to stay hidden. Not a problem for me at all, just a detail to keep in mine!

Jarrah Sweater // Sewing For Women

I used a dreamy soft sweater knit from Joann for this sweater. It's a Poly/Rayon/Spandex blend with a brushed wide rib on the right side. It's so soft and cozy, and the drape is really lovely which was perfect for this view of the pattern. I linked it HERE.

Jarrah Sweater // Sewing For Women

I am planning to dig through my stash and sew up more views of the Jarrah Sweater for this winter! I love the simplicity of View A, but I'm also a sucker for a good funnel neck! There's also such a fun hem option on View B; apparently I just really need to make at least 3 or 4 more! 😄

Jarrah Sweater // Sewing For Women

Another feature that I absolutely love about the Jarrah is the drop shoulder. I'm totally into this style at the moment, and I love how comfy it is to wear. Plus it's really easy to sew too!

Jarrah Sweater // Sewing For Women

Have I convinced you yet that this is the perfect comfy, cozy pattern?? I love that in the right fabric it's cozy yet still stylish and feels put together.

Jarrah Sweater // Sewing For Women

Well, I'm off to dig through my stash for more Jarrah Sweater possibilities! I hope you have a great rest of the week, whether it includes a long holiday weekend or not! And happy Black Friday shopping!! 😉

Jarrah Sweater // Sewing For Women

Outfit links:

Sweater:
Shoes: Old, Chaps brand


Hampton Jean Vest & Panama Tee // Sewing For Women

Saturday, November 17, 2018

Hampton Jean Vest & Panama Tee // Sewing For Women

Happy Saturday, friends!!

I don't usually post on a Saturday, but when it's something as fabulous as a D&H Fabrics Blog Tour, anything can happen! :)

Hampton Jean Vest & Panama Tee // Sewing For Women

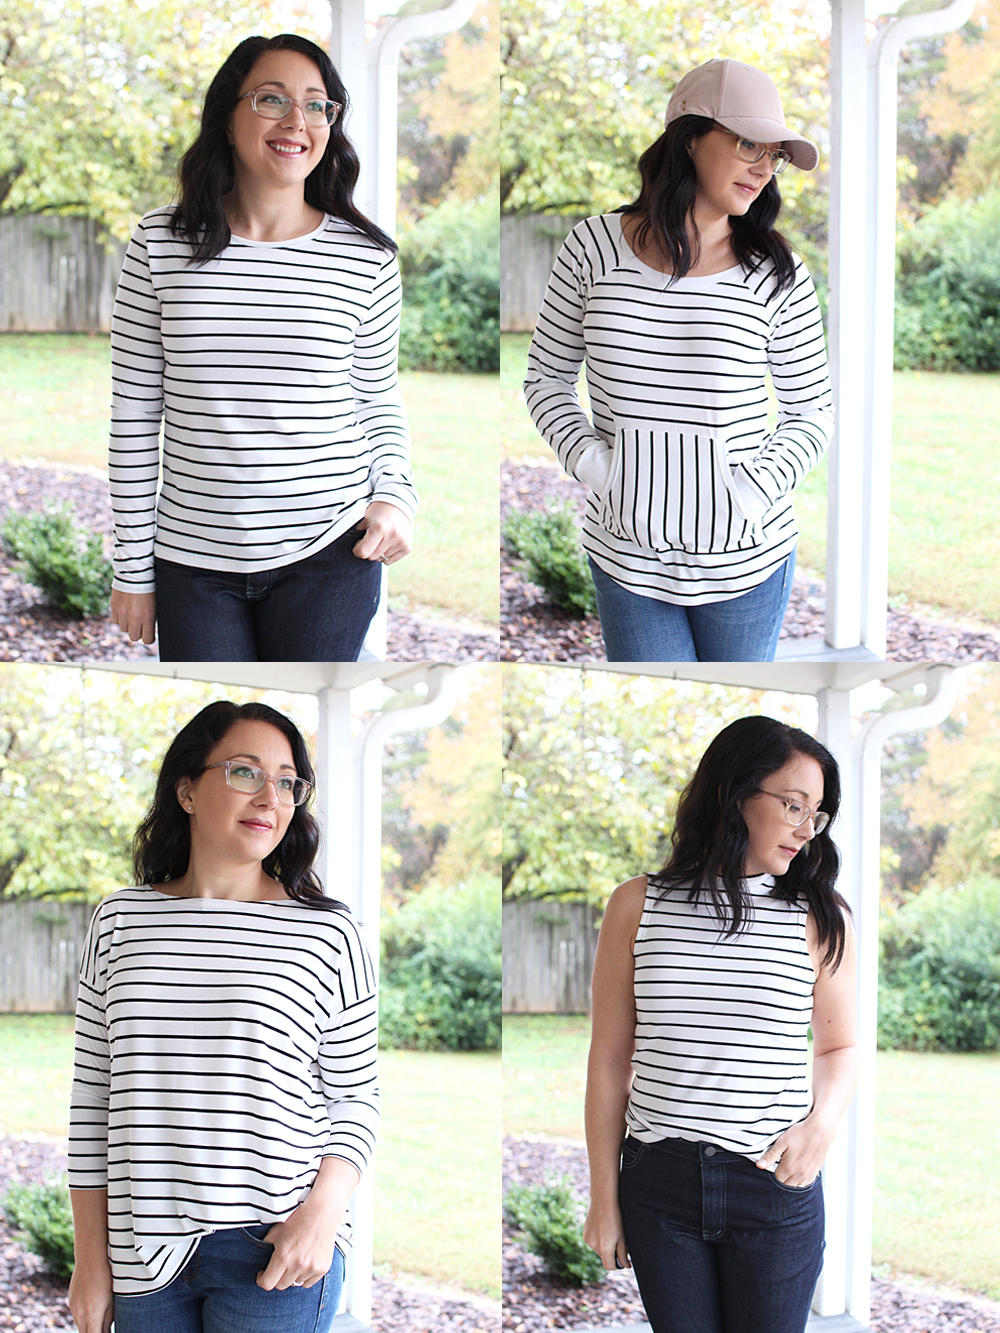
I'm talking ALLLLLL about this amazing stripey fabric over on Tammy's blog, so head HERE to read that post and see all FOUR(!!!!) shirts I made from this fabric! And then come back here to find out more about this all handmade outfit that I'm wearing.

Hampton Jean Vest & Panama Tee // Sewing For Women

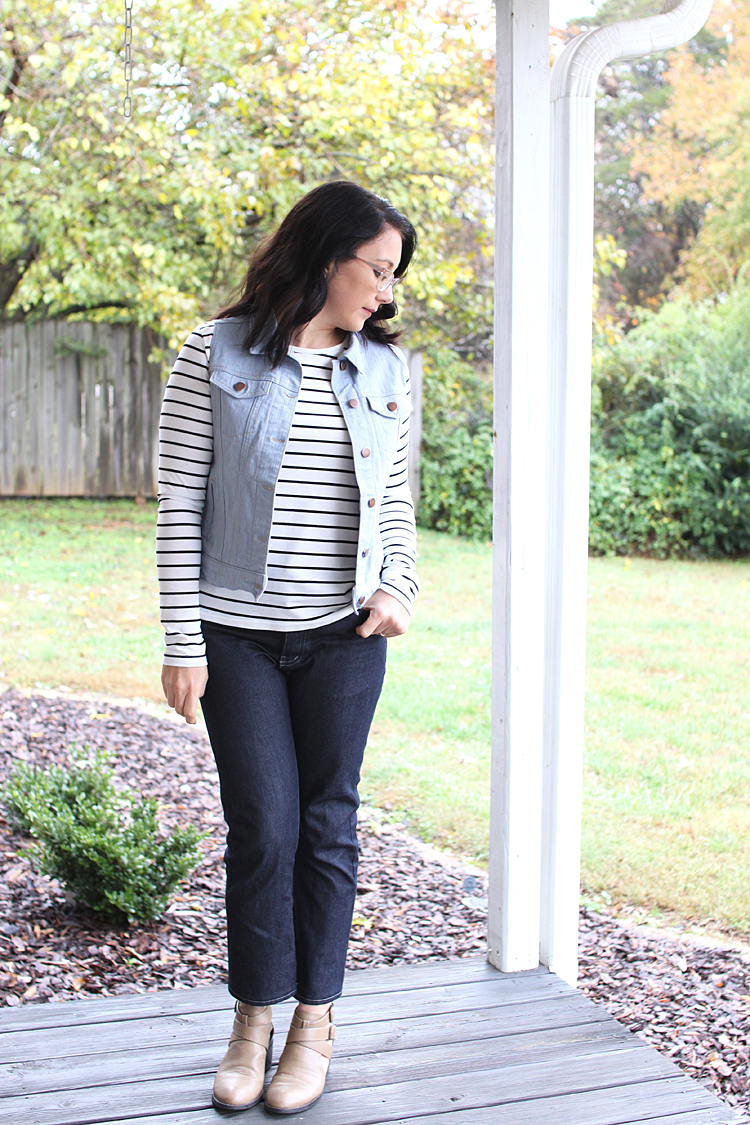
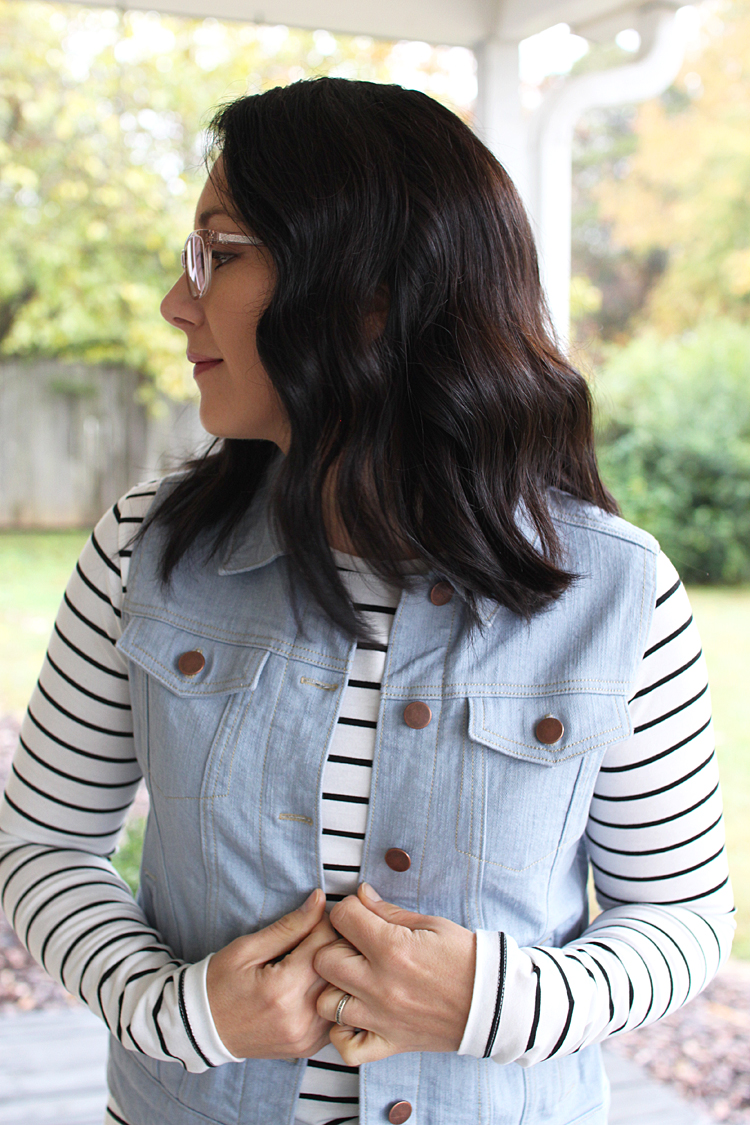
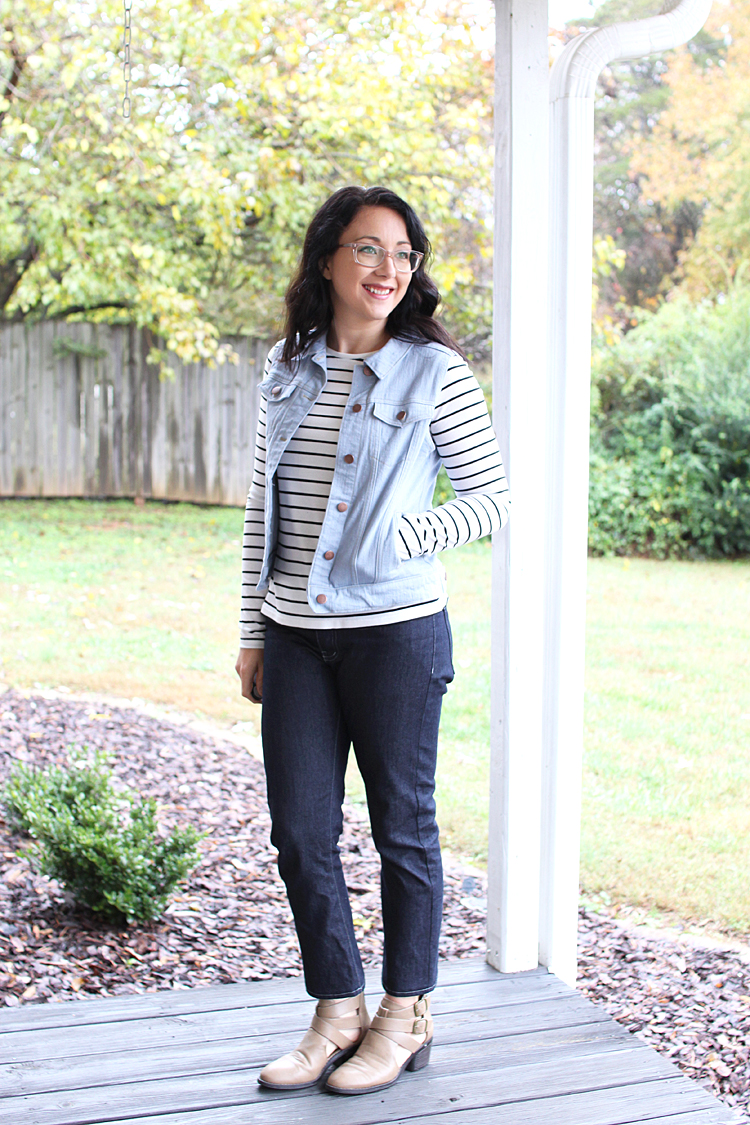
I feel like this outfit has unlocked some sort of sewing level for me. Head to toe denim handmades, and the PERFECT striped tee to accent it all. Yep. That is some good stuff!!

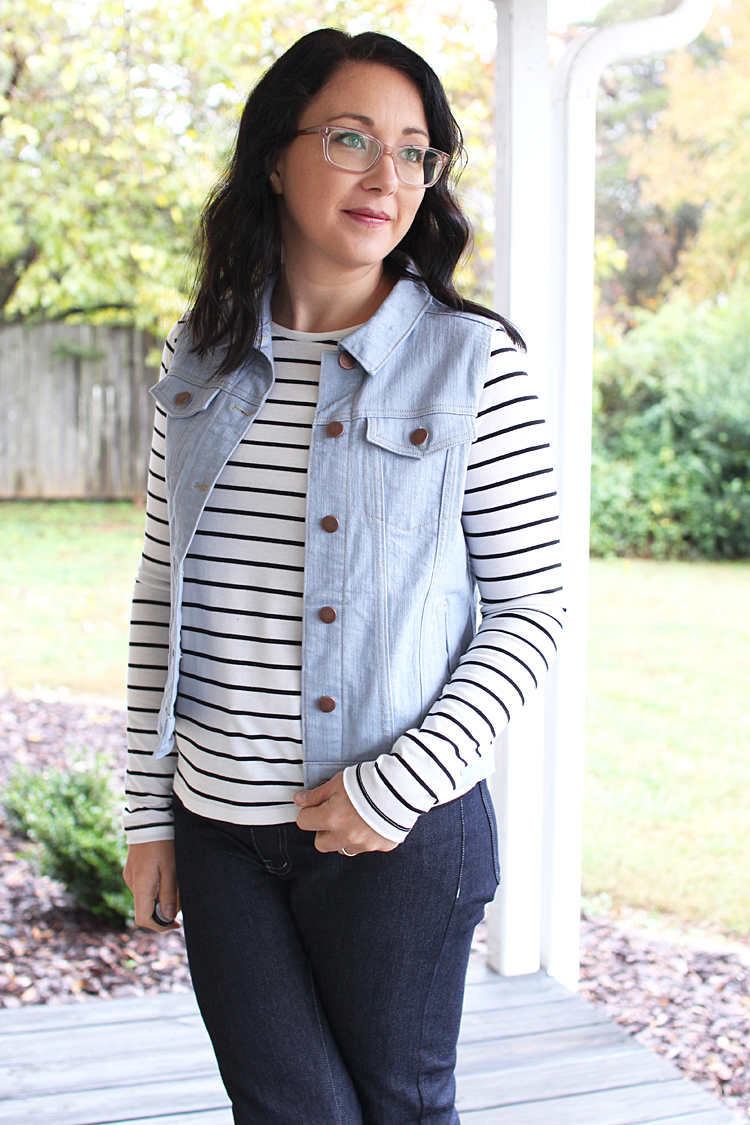
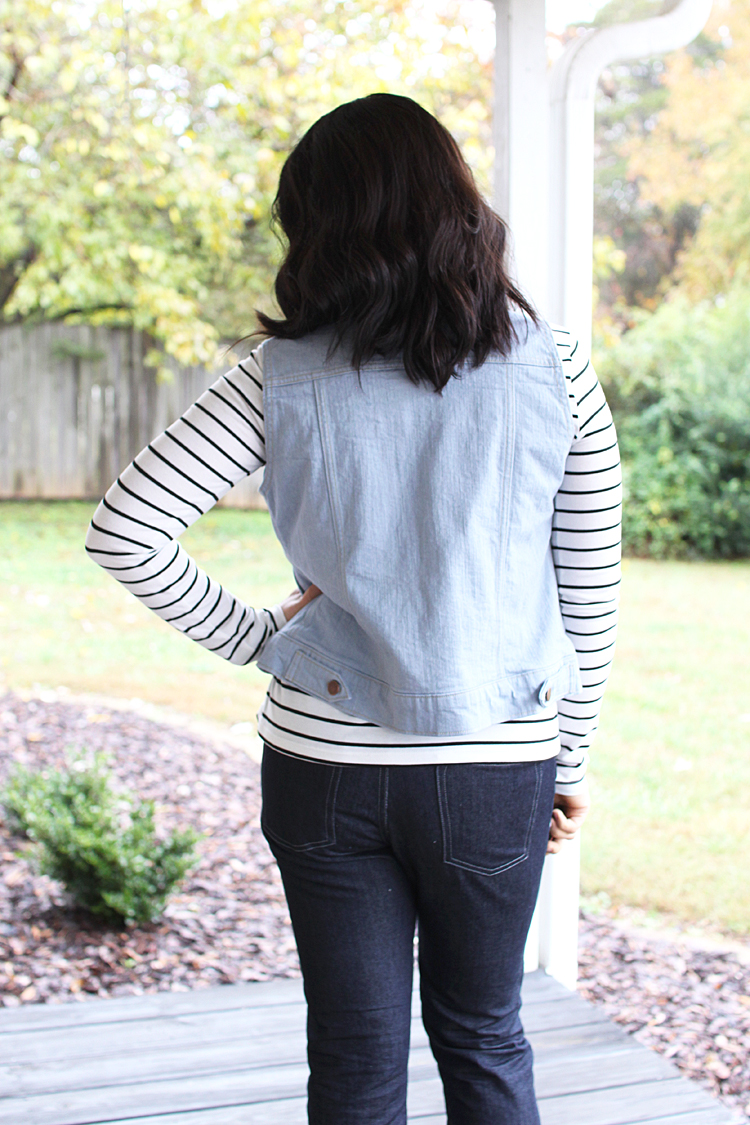
What I especially wanted to highlight today, is my Hampton Jean Vest. You may remember that I've sewn a Hampton Jean Jacket previously (see HERE), and I wear it all the time! Well, I got bit by the bug again and decided to try my hand at hacking the pattern into a vest!!


This summer, I ran across a very similar jean vest from Target, and actually ordered it to be delivered to my house. I was pretty excited about it, because I'd been searching for a vest like it for quite a while. Well, as you can probably guess. It didn't work out!

The fit was all wrong, it was oversized, too long, and just not at all how I had envisioned it. So back to the store it went and I vowed that day that I would make my own!

Hampton Jean Vest & Panama Tee // Sewing For Women

Heather from @heatherandthepugs and The Pug & Needle, replied to my IG stories that day and said she had also been wanting to make a vest. So we made a plan to sew them together to hold each other accountable so we'd actually accomplish it! :)

We both used the Hampton Jean Jacket pattern, and made a few very simple changes to create a vest.

Hampton Jean Vest & Panama Tee // Sewing For Women

The first important bit of info is that I used stretch denim, also from D&H Fabrics. It's the most amazing slub Italian denim, in the perfect light wash color. The weight is great for a vest, jacket, or a pair of jeans. I made sure to buy plenty so I could make a pair of jeans from what's left. And no worries, I won't be wearing them together! Lol.

Hampton Jean Vest & Panama Tee // Sewing For Women

While the denim has plenty of stretch to be perfect for a pair of skinny jeans, it also worked really well for the vest, which is a pattern intended for non-stretch denim.

Since I wanted the vest to be quite a bit more close fitting than my jacket, AND I was using stretch denim, I knew I'd have to do a bit of sizing adjustments. This was very straight-forward. To start with I simply cut 2 sizes smaller than what I had made my jacket. I did think that I could probably get away with going down 3 sizes, since the denim had stretch, but erred on the side of caution and only went down 2 sizes initially.

Hampton Jean Vest & Panama Tee // Sewing For Women

I should also mention that the jacket I made was in a size 8, and I was between a size 6 and 8, but chose to go up. So that meant I knew confidently I should size down at least 2 sizes.

The next bit of adjusting I did was to shorten the pattern 3/4". I think I could have even shortened a bit more for it to pair better with dresses, but I'm still really happy with it as is.

Hampton Jean Vest & Panama Tee // Sewing For Women

After cutting it and pondering it even more as I began to sew (anyone else do this??? Go over the sewing process and fit in their head countless times??), I decided to use 3/4" seam allowances on the front and back panels, which reduced the width at least another size, maybe even slightly more...

Hampton Jean Vest & Panama Tee // Sewing For Women

After sewing the front and back together and the initial baste fitting at the side seams, I took in the side seams by another 1/4", approximately. So all of my tweaking, in my head and while sewing, worked out pretty well! :)

The last step of fitting was to adjust the armhole depth and width. I don't have an exact number here for you. My notes just say the I adjusted A LOT. Hmm. So very helpful. Lol! I will say that since I took in the width of the overall bodice so much, the armhole was definitely high and quite snug at first. But I just trimmed away until it looked the way I wanted it to! And no, I didn't transfer the shape to the pattern pieces, in hind site it may have been helpful, but since each denim is so individual, I think I'll plan to just fit as I go if there is a next time.

Hampton Jean Vest & Panama Tee // Sewing For Women

Hampton Jean Vest & Panama Tee // Sewing For Women

Denim jackets are labor intensive, y'all!! But oh so worth it! I love both of my Hamptons so much.

Denim jacket/vest sewing tips:

Since this was my second sew-through of this pattern, I feel like it went quicker than the first. Muscle memory, or whatever. However, it's like giving birth. You forget how intense it is until you're in the process again. Ha.

The biggest tip I learned this time around was a flat-felled seam trick. The first time I sewed the jacket, I used wonder tape to keep things laying correctly without using pins. This worked pretty well, although I did still have quite a few places where it didn't quite catch, and I felt like I was really using a lot of the tape and was feeling guilty about all the $$.

This time, the idea to use Elmer's glue stick popped into my head! And it worked really, really great! I'd say it worked better than the wonder tape, I only had 2 little places where my topstitching didn't quite catch. It is definitely a bit more messy though. My fingers felt like they had spent the day in kindergarten. :) And the tip of the glue stick was covered in threads by the time I was finished, but I have been using that glue stick for so many things since then. So handy!

I was unsure on how to finish the armholes. I planned to use bias tape because I had inspected the vest from Target to see how it was constructed, they used self fabric for the bias, but I felt like my fabric was a bit too thick to make it through my machines nicely. So I searched my stash for something appropriate and thankfully found a tencel denim in almost the identical color and used that to finish things off! It looks lovely on the inside and unless you look really closely you wouldn't even be able to tell it's not self fabric.

Hampton Jean Vest & Panama Tee // Sewing For Women

I don't have any personally experienced, brilliant, button-hole sewing tips for you, although I really wish I did! Let's just say my Bernina is great at a lot of things, but she likes to act up when I ask her to sew button holes on denim!

Grainline Studio did recently share that there is an attachment available for Bernina's buttonhole foot that makes sewing buttonholes on bulky fabrics a breeze! So I'll be checking into that for sure...

I intended my vest to only be worn open anyway, so I gave the button holes a shot and settled for good enough. Nobody could ever tell they aren't quite all the same size or that the bottom button hole is juuuuust a tad, ok, it just is... too small. Except now you know because I spilled the beans.

Hampton Jean Vest & Panama Tee // Sewing For Women

And I tell you this so that you can hopefully be encouraged to let things go every now and then if you are a perfectionist. I am a perfectionist, but I'm coming to learn that there are certain things that only I will know (unless, ahem, I tell the whole world here on the blog), and some of those things are just okay. I honestly can't even tell that my button holes are wonky, I've forgotten about it, unless I fiddle with the bottom button, which I sometimes do... But then it's just a reminder that I made this thing with my own two hands and I'm stinking proud of it!

Panama Tee:

Hampton Jean Vest & Panama Tee // Sewing For Women

Today on the D&H Fabrics Co blog, I'm writing all about the four tops I made using this lovely striped tri-blend jersey. I've written most of the pertinent information in that post, but I'll be showcasing each pattern in it's own post here on the old blog-o as well.

Hampton Jean Vest & Panama Tee // Sewing For Women

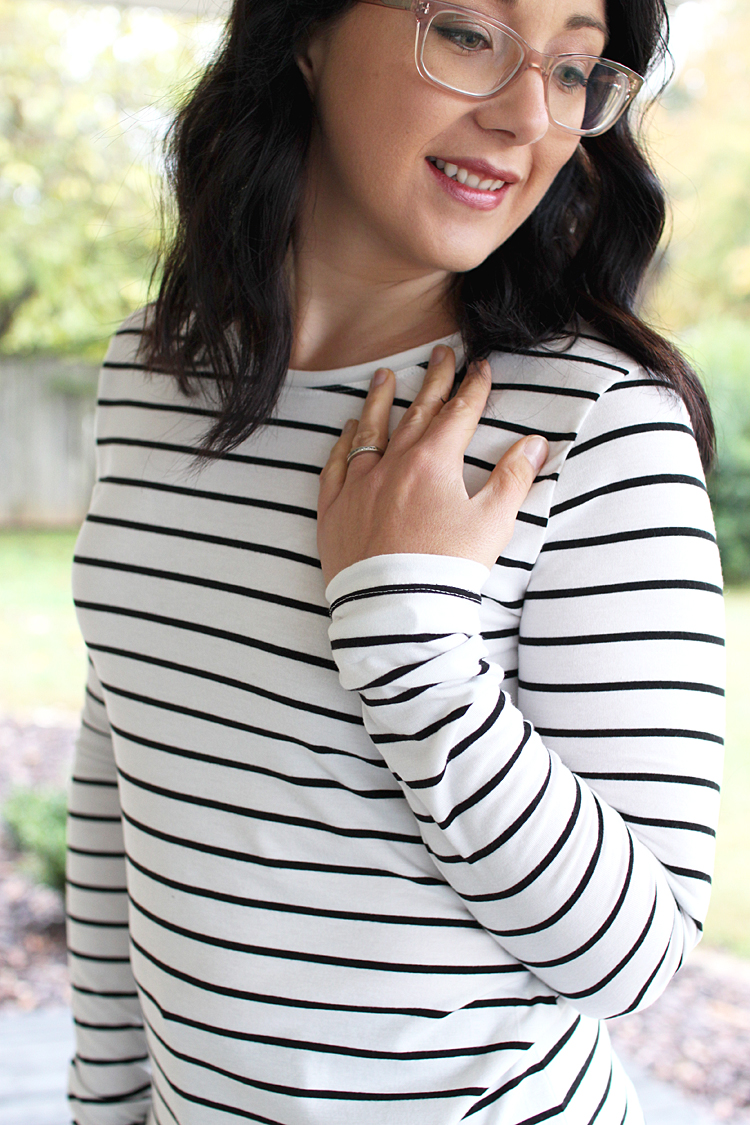
There's not really a whole lot to say about this particular pattern, except that I really truly. love. it. It's a TNT pattern for me in both the dress and the tee version. It fits so, so well. It manages to be fitted and flattering, without clinging to any of my problem areas and accentuates all the good parts at the same time. What's better than that in a basic tee!? Nothing. Nothing at all.

Hampton Jean Vest & Panama Tee // Sewing For Women

For this shirt, I sewed my standard size 6 and shortened the bodice 1/2" inch.

Hampton Jean Vest & Panama Tee // Sewing For Women

Jeans:

Hampton Jean Vest & Panama Tee // Sewing For Women

The jeans I'm wearing are my newest me-made pair, the Dawn Jeans by Megan Nielsen. You can read all about them HERE. I also have more info saved in my IG stories highlights on my profile HERE. I love them so much that I've ordered 2 more cuts of denim for more pairs and *happy dance*, it's supposed to be arriving TODAY!!

Dawn Jeans // Sewing For Women

And now with that, I think I will end this super wordy post!!

If you have made it to the end, you truly are a rock-star and deserve a prize! Especially since I'm drugged up on cold medicine and am feeling super chatty-tired.

I hope you all are having a very wonderful weekend, and am sending you all the relaxing cozy vibes. The holidays are upon us! I hope you find the time to chillax and enjoy the season. 💗

~Heidi

© Handmade Frenzy • Theme by Maira G.