
Car Trash Bag Tutorial

Hi friends!
I'm excited about today's tutorial. It's a super functional and FUN bag you can use in your vehicle.
I have recently gone from having a smallish car to a minivan. It is amazing the difference it makes in toting around my two little munckins! And since I have this "new to me" van, I've been having fun organizing it. I mean, wow, I have room to put a basket between their seats to toss stuff in that, before, would end up on the seat or even worse, on the floor in the car. Let's just say I love my van! :)
Another thing that was always a bother to me was what to do with our trash that has a way of accumulating crazy fast! My van has a little hook on the passenger side of the console and was perfect for hanging something... so, I thought of some sort of a trash bag. But, it had to be cute! So I decided to make one.
Here is what I came up with.

And I'm going to show you how to make one for yourself!
Let's get started!

What you will need:
Fabric: 2 pieces, 11" x 18 1/4" (one lining, one outer)
2 - 6" diameter circle (template here) (one lining, one outer)
For the strap: 1- 3"x 6 1/2" (outer fabric)
Interfacing - fusible, lightweight: 1 piece, 10 1/2" x 17 3/4"
1 - 6" diameter circle, cut slightly smaller
Use a 3/8" seam allowance when sewing. The finished dimensions of the bag will be 10 1/4" high x 5 1/4" diameter.
I would recommend using a pretty heavy fabric for the outside. The one I used here is an upholstery fabric and I have also used cotton duck which worked great. For the lining, quilting cotton works perfectly.
Begin by cutting out all of your fabric & interfacing.

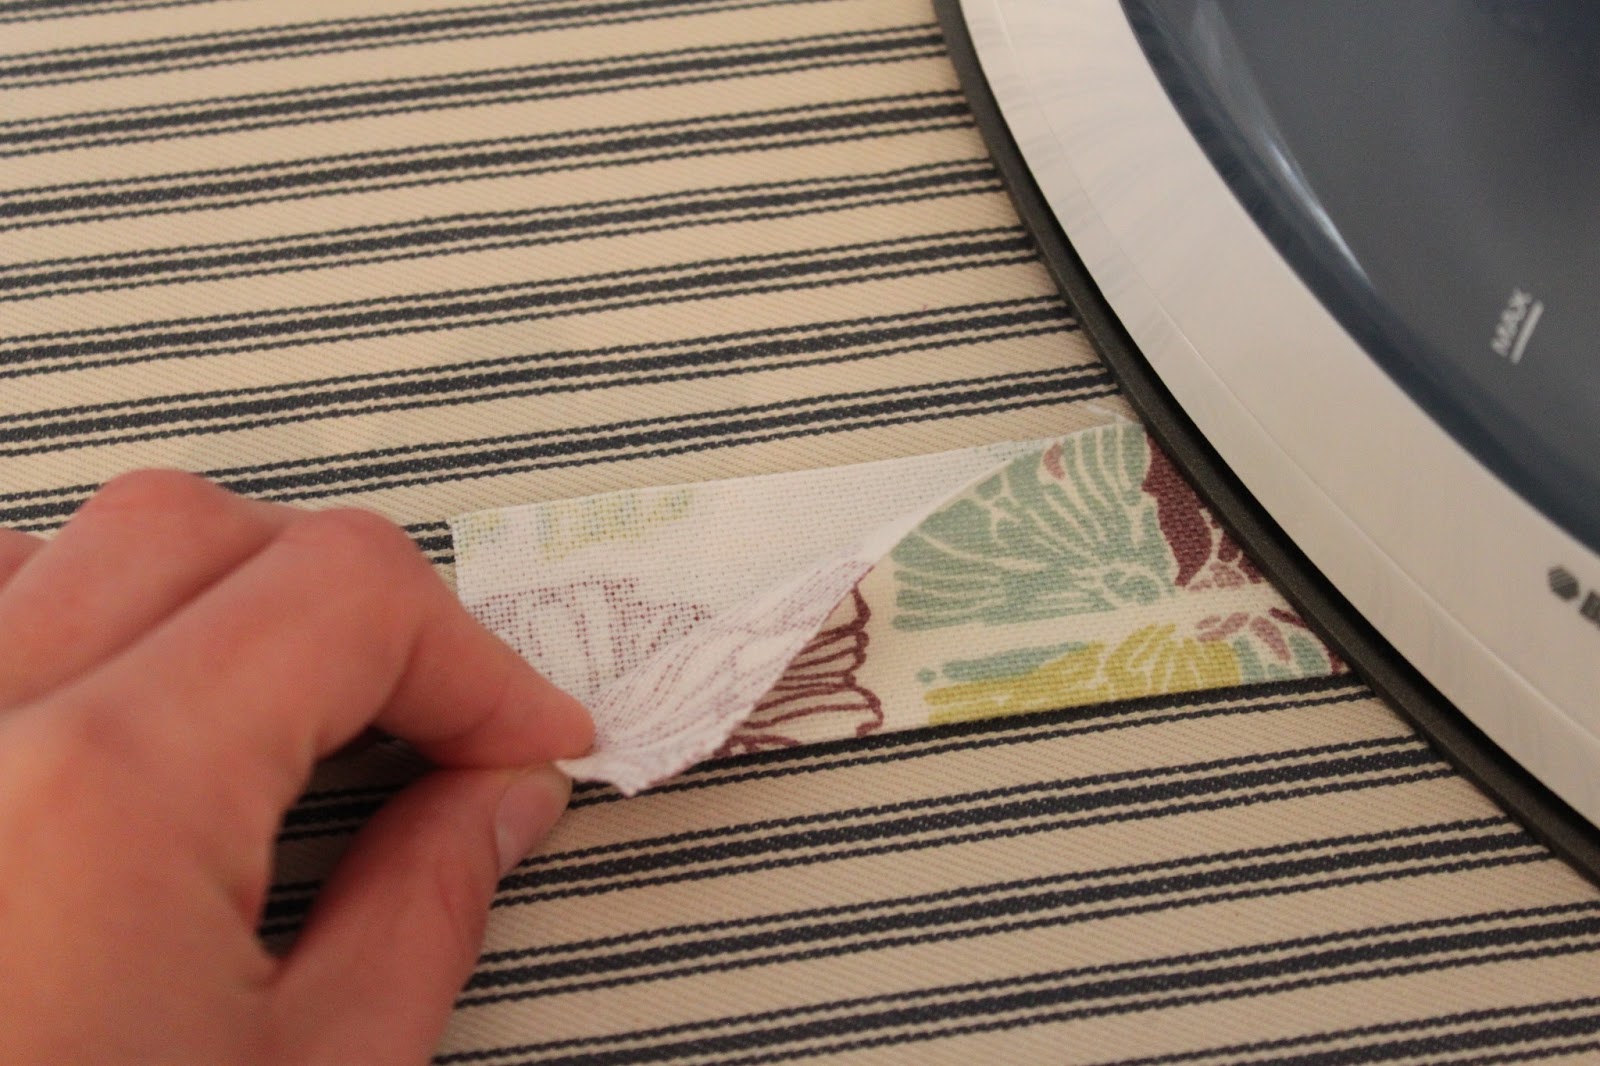
Then fuse your interfacing to the wrong side of your outer fabric.

I like to use an old pillowcase as my pressing cloth.

Fuse according to the package instructions on your interfacing.

Once your outer fabric and interfacing have dried, pin the short sides of the rectangle piece with right sides together to create a tube.

Then sew your seam.

Press it open.

Then pin the tube you created to the circle you cut out, right sides together.


Then sew the circle. I forgot to take pictures of this step :( This part can get rather tedious. Go slow and adjust your fabric often and try your best to make sure it is always smoothed out so that you don't sew over any ripples and accidentally sew tucks into your bag. But also don't worry too much if you do, a couple of small tucks won't be noticed.
Repeat the above steps for the liner, except the liner will not get interfacing.
Then make your strap.
First fold in half and press.
Then unfold and using the crease you just created, fold one side in toward the center.

Do the same to the other side.

Then fold it in half again along the original center crease.

Then sew 1/8" from the edge along each side.

Now it's time to construct your bag!
Turn your outer bag inside out, then pin the straps to it at your seam. You will be pinning to the right side of the fabric.

Leave the ends of the strap up over the edge 1/2".

Then with your liner turned right side out, put it inside the outer bag, they will be right sides together with the strap sandwiched in between.

Starting at the seams, match up the raw edges and pin.

Pin around and make sure to leave an opening approximately 3" that you will not sew.

Sew, then turn! This can get a bit bulky and may seem like your hole is not big enough. But be patient and keep working it, it will come!

Once you have it turned through the opening, it will look like this. Next stuff your liner inside your bag. It's getting exciting now! :)

Then press your edges.

And topstitch. I like to do 2 lines of topstitching, both for reinforcement and for a more professional look.

Then marvel at what you just created! :)


If you want an easy disposable liner, I discovered that paper lunch sacks work perfectly!

And here it is hanging out, looking all cute in my van.


*This tutorial is for personal use only, please do not use my design to make items to sell*
Happy sewing!!!

Linking up here:
Piggy In Polka Dots
Thank you so much for this tutorial. I have made a few, and added things to the design, but I have to tell you - this is PERFECT. Thank you so much for posting. It's a completely useful & amazing. Here is the latest one I have made for a camo-loving girl with a pet hedgehog:
ReplyDeletehttp://distilleryimage11.ak.instagram.com/d86a50d46ee411e3b9ce0e5567fabcc7_8.jpg
You are so welcome! I'm so glad to hear that you are using and enjoying it!! Yours is so cute! :)
DeleteThank you so much, i just made one for my car, and it turned out so cute!
ReplyDeleteThis is genius!
ReplyDeleteI'm going to do one with waterproof fabric inside, my car will thank me!!!
Thank you for sharing
Very nice. I may have to try this. Where do you get your sewing labels or did you make them?
ReplyDeleteThank you! I made the labels using twill tape and iron-on transfer paper.
DeleteThankyou
ReplyDeleteThank you! I just made one and I'm sure it will get a lot of use!
ReplyDelete