**Just a little housekeeping. I realize that my text color scheme makes it hard to see which text is hyper-linked (unfortunately, it is a purchased blog scheme and I cannot change it), but be aware that they are there and in numerous places throughout my posts, so keep an eye out! ;)**
In my last post, I talked about how much I love pattern testing for motivation purposes, well I love pattern tours just as much for the same reason!
Today I am absolutely thrilled to be part of the
#madriddresstour. The
Coffee and Thread Madrid Dress is designed by my friend, the owner of Coffee + Thread, Olga. Her patterns always have such great clean lines, and loads of options included. This dress was no different, and I was so excited to dive in!
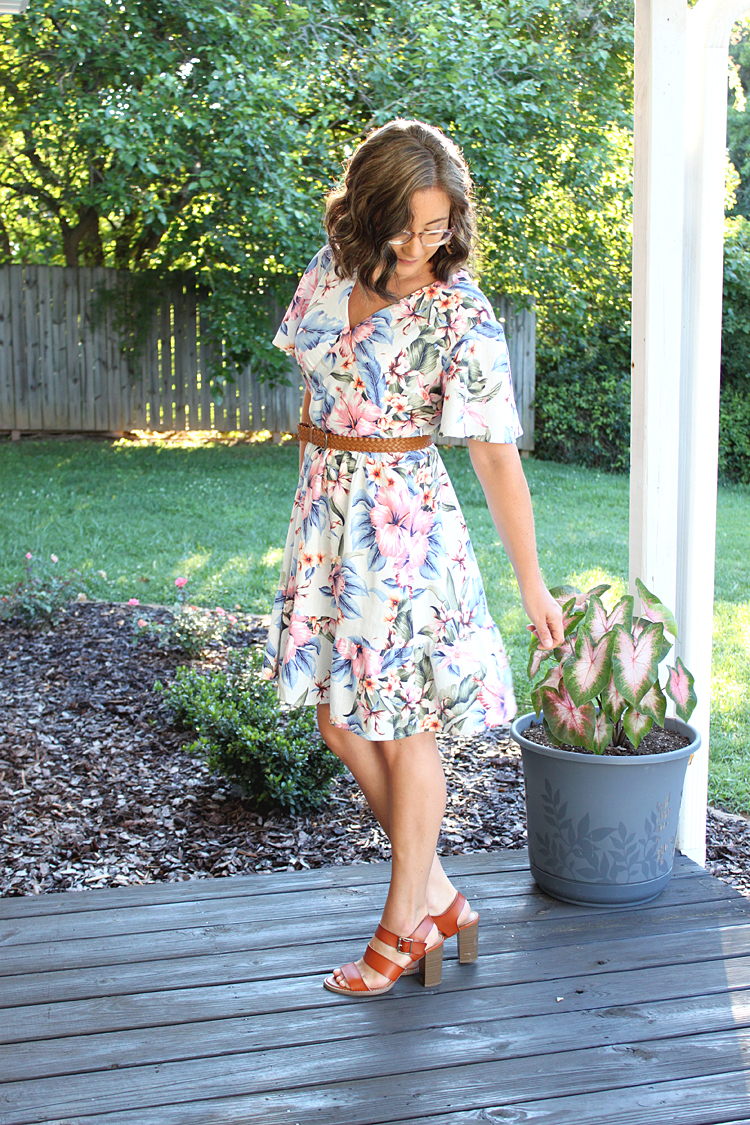
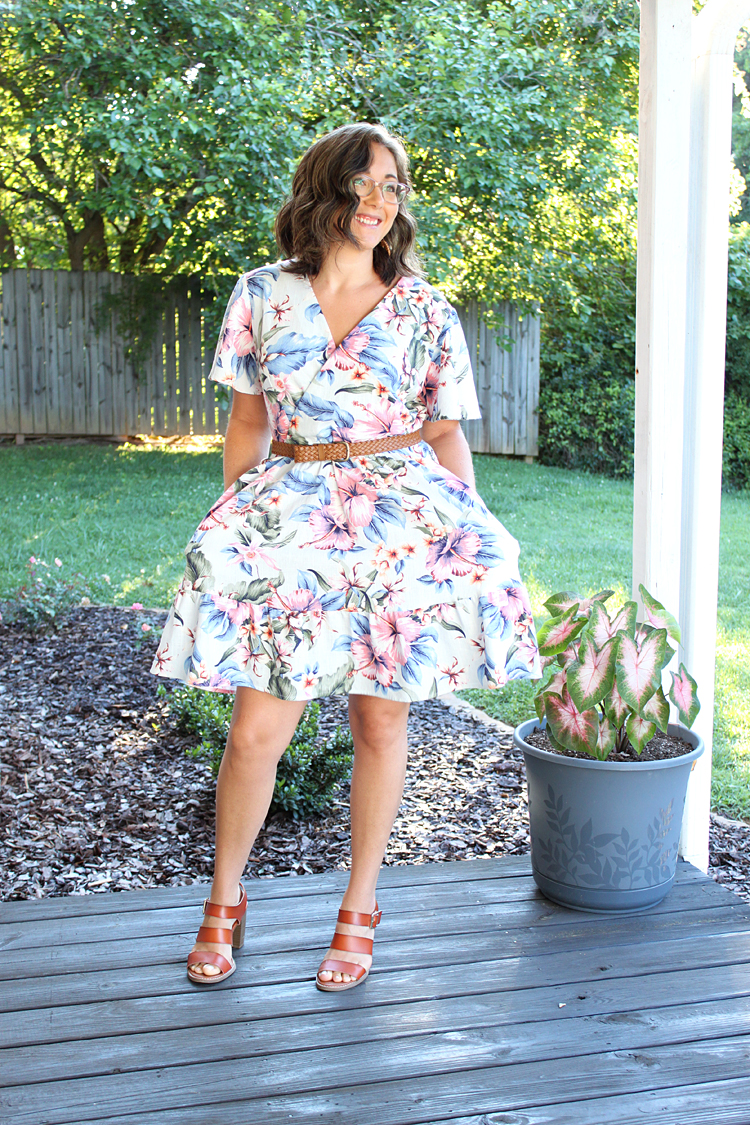
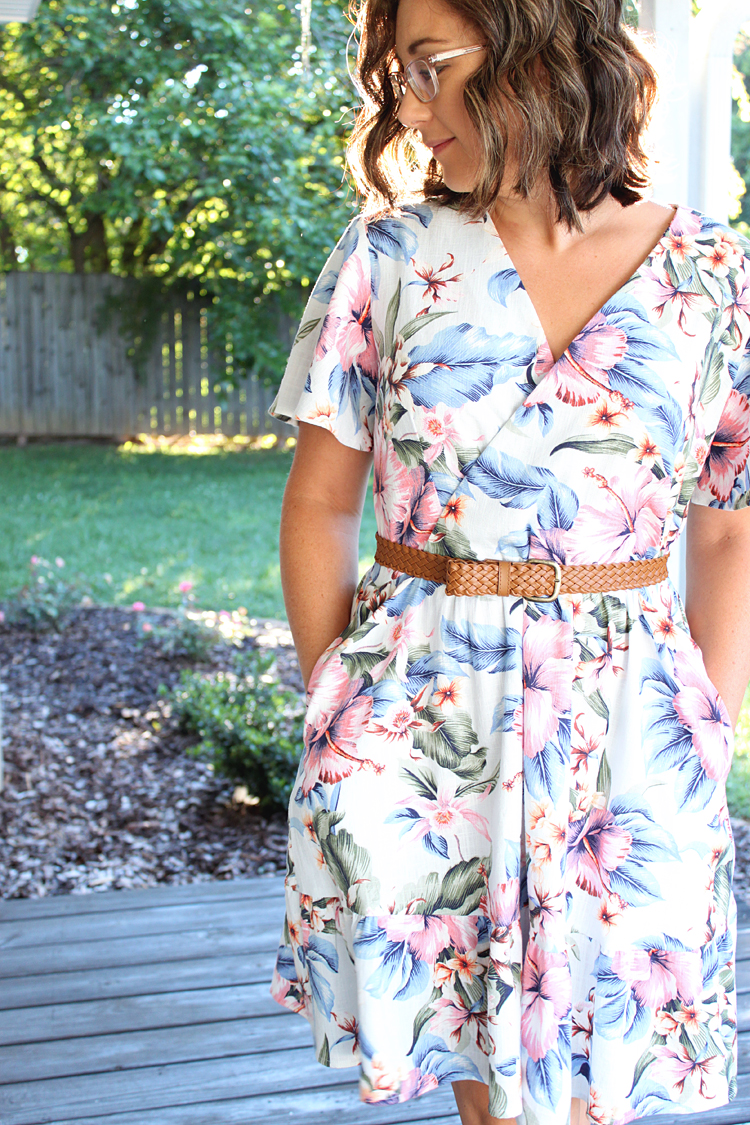
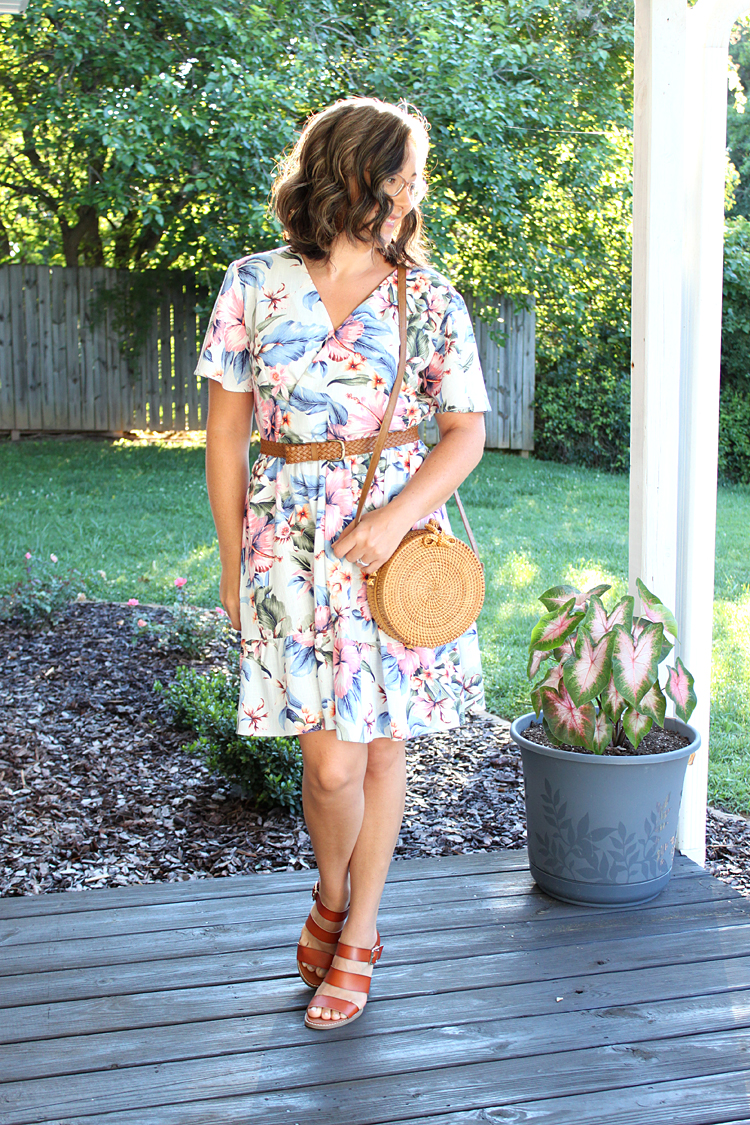
The pattern includes 2 sleeve options, and comes in tunic length, plus a midi or maxi dress length. As you can see, I decided to go in between and create a swishy, above the knee length, dress!
The Fabric
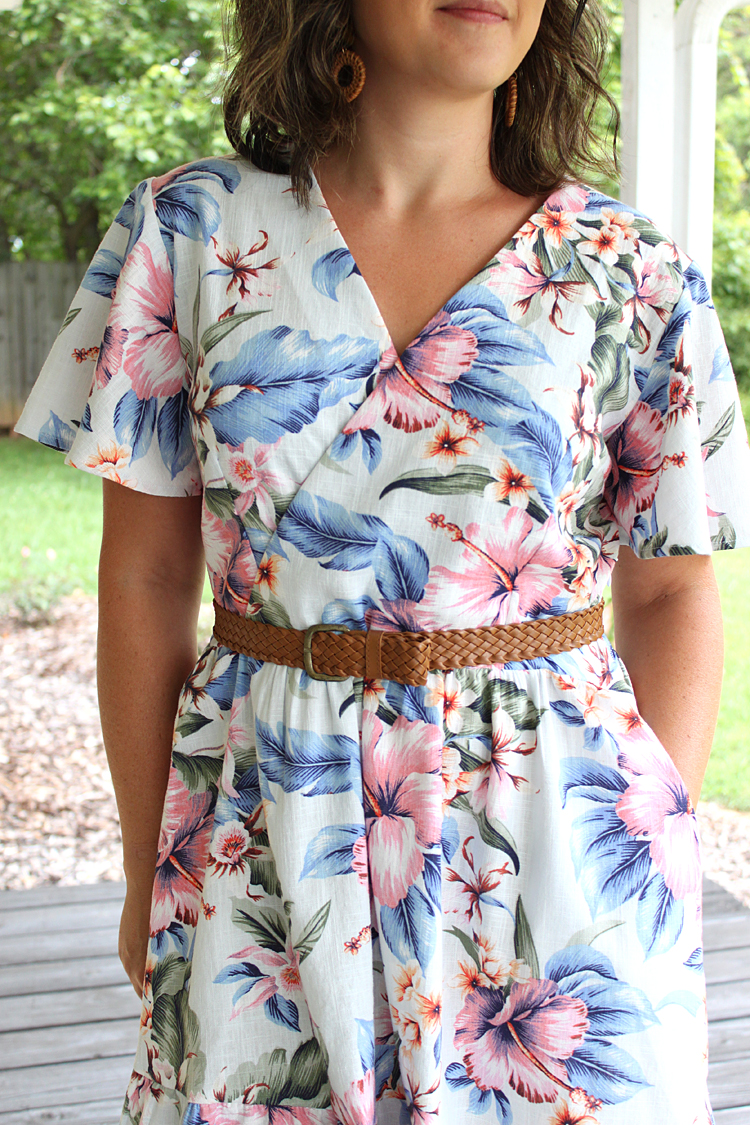
When I was brainstorming how I wanted my Madrid Dress to look, all I kept seeing in my mind was a fun and bold tropical print. So I went hunting for the perfect fabric! I honestly found many options that would have been amazing, but in the end I settled on
this lovely rayon/linen blend that I found on the Joann's website. I know this fabric is carried in-store, but my store didn't have it, so I ordered it online.
When my fabric arrived, I could not wait to get started! The weight of the fabric felt just perfect and the print was everything I had wanted. I did get a question about the sheerness of the fabric when I posted a sneak peek on Instagram, and I'm happy to report that the fabric is perfectly opaque on the body. There was no need for a lining at all! And no slip either. It's really good, y'all!
Fitting
Sewing this dress was truly a fantastic experience! Since the top is a wrap style, I knew I could not get away without making a muslin. In my experience with wrap style tops or dresses, I always have some gaping and/or drooping in the front. So a muslin was absolutely necessary.
My full bust and waist measurements put me in a straight size 8. So I made a quick muslin in similar fabric using only the front and back bodice pieces. As I suspected, I had a lot of gaping going on in the cross-over area. Since I was fresh off of sewing my Ashton Top and had to shorten the area between my bust and shoulders, I decided to test out my growing suspicion that this is indeed an adjustment I need to start making on the regular!
On my muslin, I took up the shoulder seams 1/2" and this placed my darts in the perfect spot as well as lessened the gaping in the front. I reflected this adjustment on the pattern piece by slicing the pattern above the bust and shortening 1/2"
Even after this adjustment, I still had some gaping, so I did a SBA trick that I learned in sewing the Orchid Midi Dress (blogged
HERE).
This adjustment is as easy as removing a wedge from the front bodice, starting at the tip of the cross-over (at the waist), and in the case of this dress, I only tapered to the vertical bodice dart. I removed another 1/2" this way and it significantly reduced the gaping in my final dress!
This fabric has a looser weave than my muslin fabric did, and I could have probably removed at least another 1/4" with the wedge, but I'm pleased with the outcome as it is!
Pattern/Style Alterations
Obviously, my dress is not the midi or the maxi length included in the pattern options. I wanted a dress that hit above my knee, I'm crushing on the knee-length tiered skirts I've been seeing everywhere. To achieve the look I was after, I simply shortened the second skirt tier! It could not have been easier.
I held the pattern pieces up to my body, and by eye-balling I decided to remove 6 5/8" from the length. I am 5'3", and I'm super happy with how the length turned out!
The second modification I made to the pattern was to add POCKETS!!! This dress is a fabulous design, but it was screaming for some pockets. Any dress that has pockets is instantly 10x better, am I right???
I can understand why the pattern doesn't include them since the dress has a side-seam zipper to help with getting it on and off. However, I was determined, even though I had never sewn an invisible side-seam zipper AND in-seam pockets on a garment before!
I went to my good pal, Google, and was thrilled to be directed to the ever inspiring and amazing
Brittany J. Jones!! She has a YouTube sew-along video in which she sews a skirt with this exact pattern feature! You can reference the video
HERE.
Her step-by-step sew-along was exactly what I needed in order to be able to add it to this dress! I just used a pocket pattern piece from my stash that felt like an appropriate size and shape for the dress.
Can I just say that I am IMMENSELY proud with the outcome! Lol. I mean, just check out that side seam! Can you see the zipper? The pocket? No? Yay, that makes me happy!! :)
The Pattern
Other than my truly slight modifications to the design, I stuck directly to the pattern and I am so in love with my new dress!! I feel like pictures don't do it justice, and I basically feel like a princess in the way my 10-year old self would have loved to feel. :)
I attribute this mainly to the flutter sleeves on this dress!! Oh my goodness, they are perfection. The length is perfect, the fullness of the flutter is perfect, and they are just so flattering.
I also am really, really happy with the wrap and how high up it comes. The facing piece is perfect in that it doesn't roll out at all, and gives just the right amount of stability to the front. I found the waist to hit at the perfect spot, and the gathering in the skirt is just enough, but not too much!
All in all, I really couldn't be happier with this new dress of mine!!
I hope you take some time and check out the #madriddresstour on Instagram, there are so many other gorgeous Madrid Dresses there!
For the duration of the tour, Olga is offering 25% off ALL of her patterns, including children's! Just use the code "madridtour" at check out for your discount! Shop all the patterns
HERE.
Links:
Pattern: Coffee and Thread
Madrid Dress
Step-by-step video for sewing in-seam pockets with a side-seam zipper:
Brittany J Jones


