
Roly-Poly Pinafore - Patchpocket Tutorial
Yay for the Roly-Poly!!

In case you missed it, I love this pattern! It is so versatile and perfect for ALL seasons really. Throw a tee under it, short or long sleeve, and it'll take you from the hottest days of summer to the coldest days of winter. And style options. There are lots! You can check out my guest post from yesterday and I'll be bringing the post home next week, so stay tuned!
Since I thought this top needed yet another style option, ok, no, I just wanted an excuse to whip up these cutie shorts :)
I used the FREE (free guys, free!) Summer Shorts pattern from Cailamade to make these cute little things.
I also used this pattern with knit fabric with huge success recently to make these Summer PJs.

I just loved how the peach and navy paired up and how well the patterns mixed, too. I couldn't help it. It was meant to be.
This girl cracks me up. Ok, you know that already. But seriously, I ask her to turn around so I can take a picture of the back and she does so, very willingly. Then stands there with expectation. For what, I'm not sure. I'm going to have to start rewarding her with candy just for being cute :)

Ok, so if you checked out the pattern you may have noticed that it comes with an option for inseam pockets, but since I can't leave well enough alone, I put patch pockets on our little pinafore.

So here's the little tute on how to do that! It's so super easy I promise!
I loved the little patch pockets that come with the Geranium Dress so I just went ahead and used that pattern for the shape. But it would be just as easy to draw your own in whatever shape you wish!
I also wanted to add a bit more navy accent to the outfit, so I just chopped those little pockets in half right down the middle. This will make them a little squattier than the original pattern but I was fine with that. Or maybe a little lazy. Who knows.

Now to attach the piping, line up the raw edge of the piping with the top edge of the pocket on the RIGHT side. Sew on, using a zipper foot, getting as close to the cord as possible.

Next, pin the other half of the pocket on top of the sewn piping with right sides together. Sew again, using your zipper foot and getting close to the cord.

Now pin the remaining sides together and sew around the edge. Leave an opening at the bottom for turning your pocket.

Turn the pocket right sides out, topstitch the edges, and then attatch to the pinafore using the topstitched edge as a guide.

Placement is completely up to you. I chose to place the pockets 1 1/2" up from the hem and 1" in from the side seams.

I added a fun little detail when sewing on the buttons. I saw this idea somewhere out there in blogland and it stuck, but I can't remember WHERE I saw it! So if you're reading this and it's you, shoot me an email and I'll be sure to give you credit for the great idea! :)

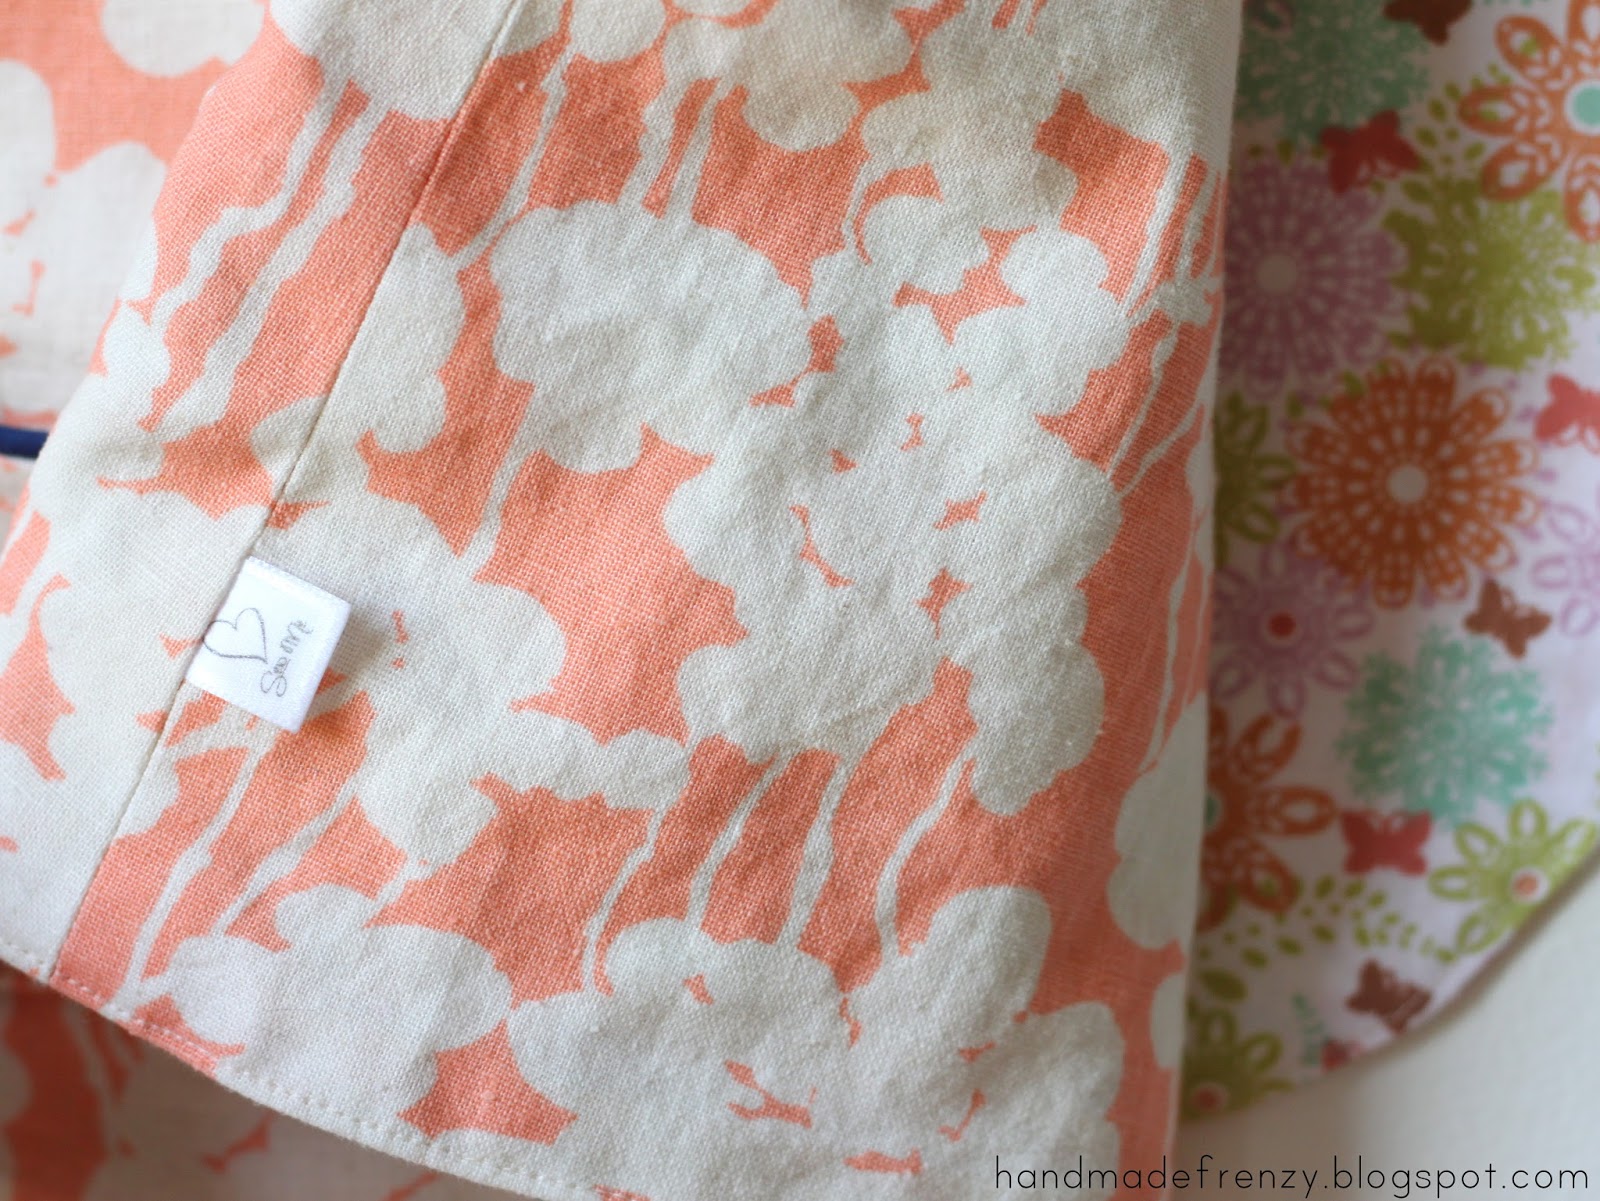
I also threw a little tag in the side seam for fun. I've had quite a few people ask me where I get my tags. I make them, following this tutorial. I also have lots of other ideas pinned to this Pinterest board. There are so many ways to make your own cute, unique tags!
So there you have it. O's first Roly-Poly. I'm sure there will be more in the future!
She loves it and so do I! ;)

Happy Sewing!!


Pockets AND piping - winning combo in our household at the moment :) And yes, your little girl is so so so so so adorable :)
ReplyDeleteIt's cute with the piped pocket! Good combo
ReplyDeleteThank you! :)
DeleteAh I love this Heidi! I've been wanting to make a Roly Poly, it's such a cute pattern and I love what you did with your's!
ReplyDeleteoh, SO great :) those pockets are perfection!!
ReplyDeleteThese are adorable, Heidi! I love the pinafore with pockets, and the summer shorts are so perfect!
ReplyDeleteThank you Caila!! :)
Delete