Chi-Town Chinos in White // Sewing For Women
Tuesday, July 25, 2017

Hi all!
I'm popping in today to share about the latest Chi-Town Chinos I made.
I am a chinos gal, through and through. I love me a good pair of jean shorts, but the perfect chinos are just hard to beat! That being said, I think these are pretty close to that "perfect" pair.
I blogged my first go at this pattern HERE.
The second (navy) version remains unblogged, but is definitely worn constantly! Below are a some phone pics for reference.

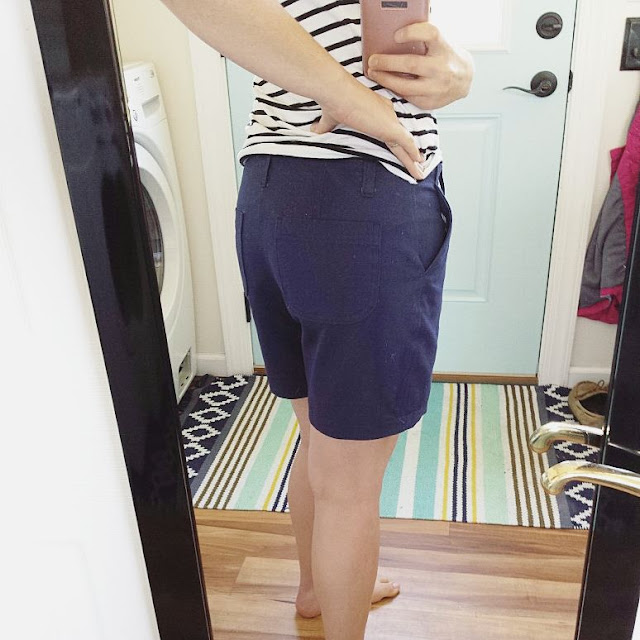
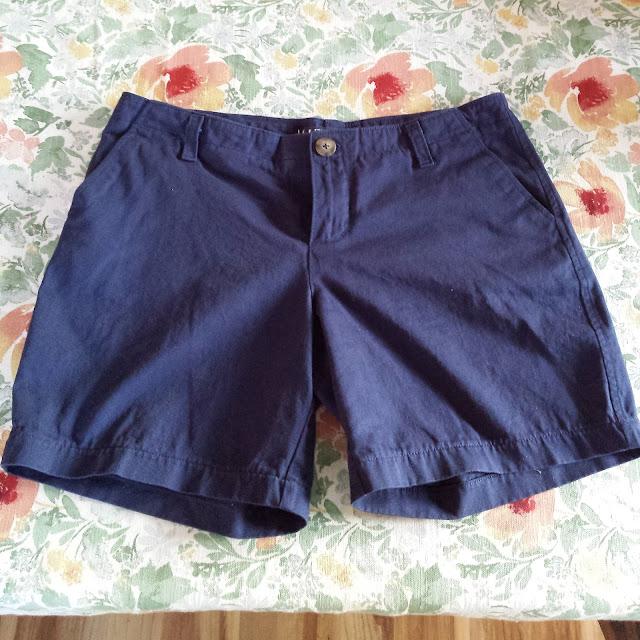
The navy pair was made in a 100% cotton twill from Joann's. I am super pleased with the quality of this fabric, it has held up very well and is also very comfortable to wear. The only downside is that it relaxes quite a bit with wear. By the end of the second wear for sure, I need to throw them into the laundry to shrink back down so I don't feel so loosey goosey and *ahem* frumpy.
The first pair I made, blogged HERE, was made in a lightweight denim, plus I lowered the rise (oops, my mistake), and that pair also relaxes into a super loose fit. Although, not as quickly as the navy twill pair.
All that to say, it is the nature of the pattern for the shorts to relax into that "perfect" fit as you wear them. But I'm finding that fabric choice plays a huge role in how much it relaxes.
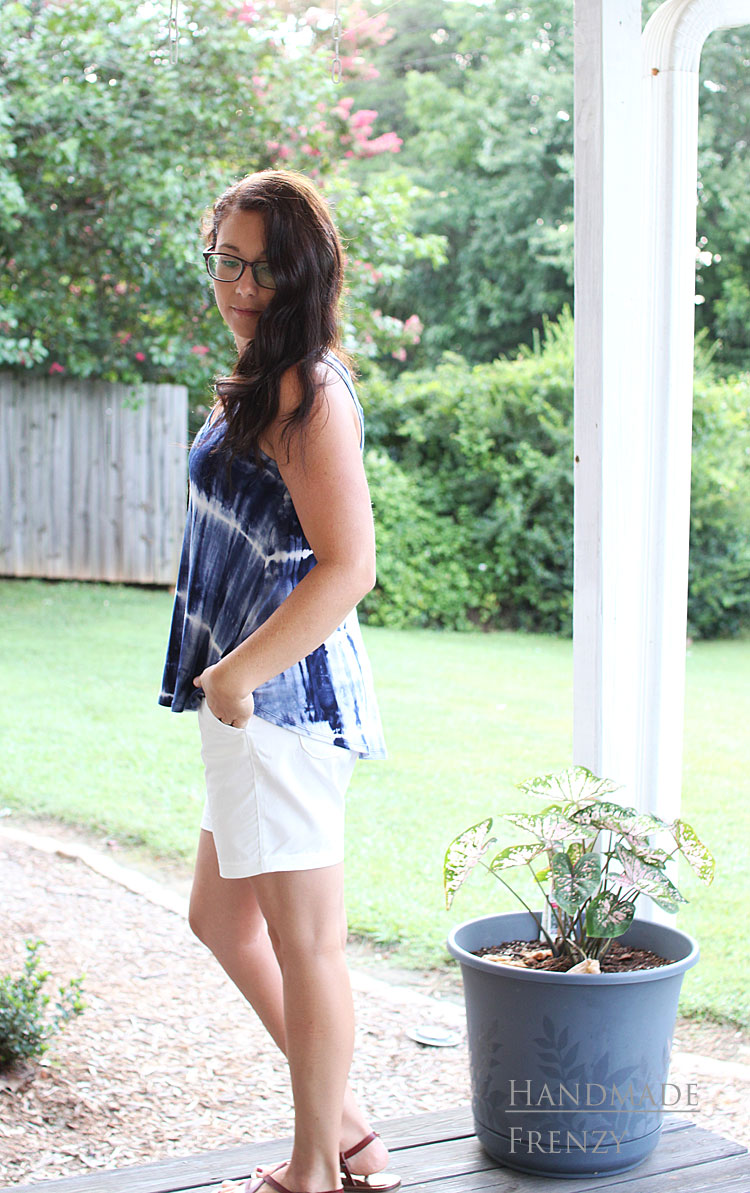
I liked the navy twill so much I went back and grabbed it in white! I'm so happy I did, because this is without a doubt, my favorite pair of white shorts I have ever owned.
The first two pairs I made, I made in a size 6. My hips measure a size 6, while my waist measures a size 8. Alina has a very handy waist extension built into the pattern, so if you are like me with a size larger waist than hips, there is really no pattern alteration needed to achieve a great fit! I used the waist extension in the first pair. The navy pair I found I didn't need any waist extension at all, and even took in some at the side seams.
The white pair I'm showing here today, was made in a straight size 4 and the waist extension was not used. Although, I still cut it out with it intact so that I could custom fit as I sewed them. I definitely recommend custom fitting each pair you decide to sew because of how differently fabrics can behave!

All of the Chi-Town shorts I have made, I have lengthened the inseam by 2 inches. This pair was the same, the only difference being that I forgot initially to taper in the outer leg seams when I sewed them together and topstitched the seam. With topstitching thread no less... One of those sewing moments where you just have to put the project in timeout for a while.
I put the shorts in timeout, but my brain couldn't let it go. I first thought, I'll just leave it, it's not that bad! Because I really didn't want to unpick the topstitched HEM, and the side seams! But the more I thought about it, the more I knew it would bug me so badly that I wouldn't wear them, and other than that one blunder these were amaaaazing. So I decided to go at it the next morning and fixed it, and properly! You can't even tell where the original and re-stitched topstitching thread meets. Totally worth the extra hours spent on this project.
In case you are wondering, I tapered the side seams in by 1" (as per flat pattern, so 2" total width is taken out from each leg), starting at nothing at the pocket point and tapering down to the greatest decrease in width at the hem. I used my hip curve ruler, but it is just the slightest teensy curve, a straight line would likely achieve the same result. I did taper the inner leg, ever so slightly, I think I took 1/8" out there.

The next change I made was to scoop out the back crotch seam by 1/4". The navy blue pair above required only an 1/8" scoop. But going down a size required a little more scooping for my low booty.

Lastly, I interfaced the waistband facing piece with a lightweight interfacing. I did this in hopes that it would help keep the waistband a little snugger and not relax as much. I'm very happy to report that it seems to be doing the job well! I've worn these shorts several times since making them and they still feel snug and supportive when I wear them.

For this pair, I used a lighter interfacing because the fabric itself is pretty hefty and I didn't want to add any bulk at the waist. I plan to make another pair in a lighter fabric and I'll probably use a slightly heavier interfacing for that. I also have plans to make a couple pairs in some stretch twills I picked up. Those will definitely need interfacing to keep them from stretching out.

In other words, I need all the Chi-Towns. So many. In all the colors. Lol.

I used a white jeans zipper from Imagine Gnats Shop for this pair and I feel like it upped the "legit" factor for me to the next level. :)

Another handy little tool for making this pair of shorts was this Craft Awl that Rachael sent over for me to try out. I was struggling to get the bottom part of my belt loops attached with the bar tack and was fearing the fate of my finger when trying to evenly push it through. Enter the "wrong" end of the craft awl! It was perfect for pushing the belt loop through the presser foot, the cushion grip meant no slipping at all. I can't wait to use it next time to install some jean's buttons onto some actual jeans!
Also, shout out to Lara Liz. I have been enjoying reading her blog lately and I like how she references not only the fabric and patterns she used, but also the tools and notions! So I'm going to take a cue from her and list them here as well. I think it's nice to know where other get their supplies and maybe you'll find some new shops to support as well!
Sources: (Click on description for available links *no affiliates in this post*)
Pattern: Chi-Town Chinos (Alina Design Co)
Pattern: Chi-Town Chinos (Alina Design Co)
Tools:
Notions:
- White Jeans Zipper (Imagine Gnats Shop)
- Button (Joann)
- Label (Dutch Label Shop)
- Gutermann Topstitching Thread - Color 20 *Nu-White (Joann)
- Pellon Ultra Lightweight Fusible Interfacing (Joann)
I hope this information dump was helpful! Thanks so much for reading!
