Velvet Toaster Sweater #1 // Sewing For Women

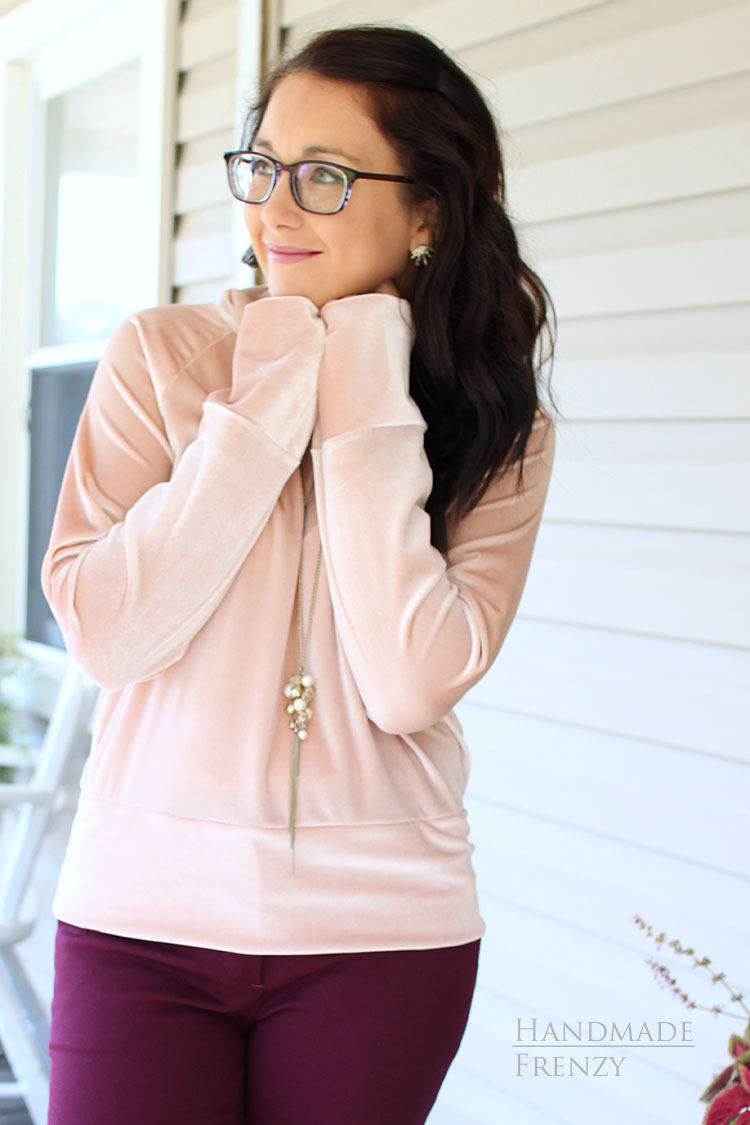
You guuuuuuyyyys. This sweater. I'm going to live in it always! At least while the weather is cold. ;)

I made this sort of epic pair of plum pants (read about them HERE), and I needed an epic top to wear with them for the holidays. Well, as you may know, velvet is hot, HOT, this year again! I had the fabric for my pants sorted out and I remembered having previously drooled over this blush pink stretch velvet from Blackbird Fabrics, so I made it happen.
I was a little worried that I might not get the fabric in time to make this vision come to life for today's post*, but the fabric arrived in the nick of time! In about 16 hours (including sleeping time) from getting this fabric in my hands, I had pre-washed, cut and sewn this glorious sweater.
*Today's post being my post over at Imagine Gnats, celebrating the release of this amazing Sasha Trousers pattern!

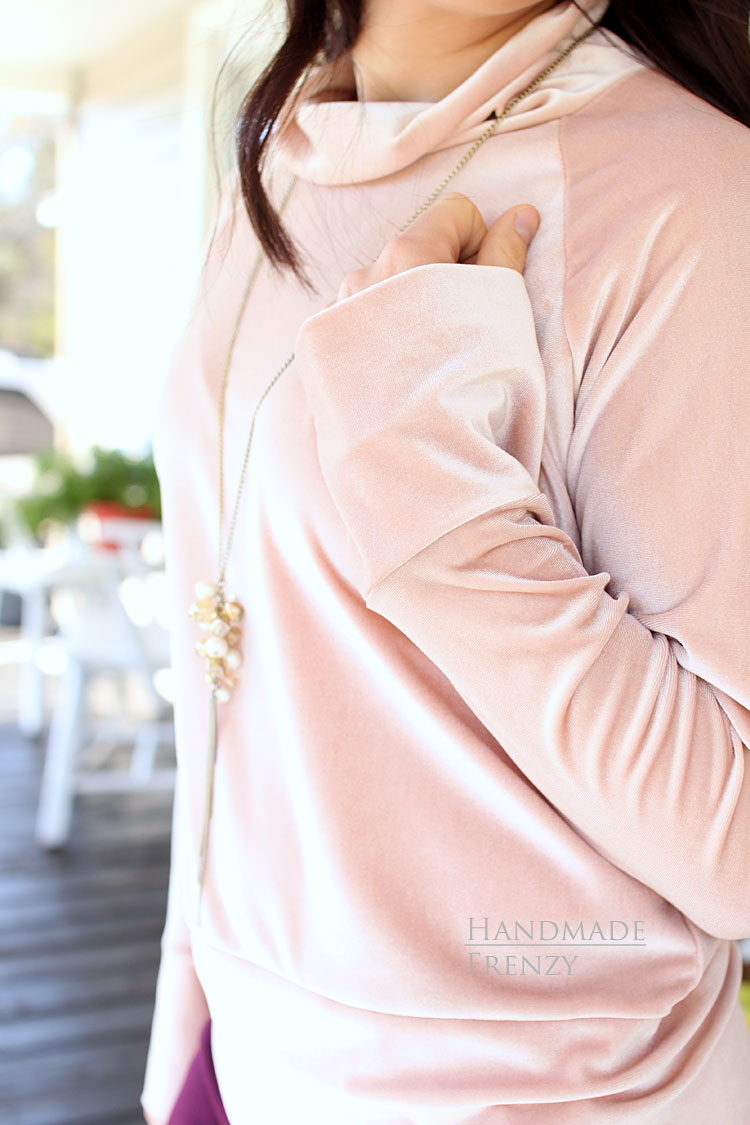
I had been wanting to make a Toaster Sweater #1 this fall. I made two versions of Toaster #2 last year and was just feeling the urge for a turtleneck version. I'm not sure when the idea came to make this pattern with this velvet, but it is perfection.


I'm really not kidding when I say I want to make all my wardrobe staples in stretch velvet!!

Like Toaster #2, this pattern comes together super fast! I cut and sewed it in 2 hours. For me, y'all, that is lightning fast! It would have been even faster in a jersey or ponte.
My favorite thing about this pattern is that it can be made completely on the serger. No sewing machine required at all! The pattern instructions suggest topstitching most all of the seams with a double needle if desired, but I definitely wanted to leave the velvet as is.

If you are wondering about how stretch velvet handles, it is basically the same as most knits! Care instructions will say to dry clean only, but Gabriella from Chalk and Notch (who I think is the velvet QUEEN), told me she just washes it like anything else and it holds up fine! Last year I made my daughter a velvet dress and I can also attest that it washes with zero problems.
I prewashed this in cold water and tumble dried. I plan to hang dry from here on out to increase longevity. This is how I handle all of my handmades anyway, so it's no switch at all!
As far as sewing and cutting, I find folding it with right sides together is the best way to cut since the nap "grabs" to itself and make for a much more stable cutting situation. Also, be sure that you are cutting all pieces with the direction of the nap going the right way!
For sewing, sewing only two seams together at once, such as at the arms and side seams, is super easy. Because again, the nap grabs onto itself. Sewing 3 layers together becomes a little more tricky, because the pieces that are wrong sides together are very shift. But just use lots of pins, go slow and be patient! It will all come together!

Since our time change here in eastern USA, I am finding that my outdoor lighting for photos is seriously problematic! My usual photo spots are no longer in a good path of the sun, so I struggled getting photos for this outfit! Is it too much to ask for summertime lighting and wintertime temps? Lol.
The photos above are all with very bright mid-morning sunlight, and below is a shot at dusk. Isn't it gorgeous in both situations? Oh man I love this fabric loads and loads.

You need velvet in your life. It's the truth!!
Here's the link again for this particular one: Blush Pink Stretch Velvet

This is gorgeous! So glad to hear you washed as normal. I have some stretch velvet sewing plans so these tips were perfect!
ReplyDeleteThis sweater is really lovely. I've had the pattern a while now and you've given me the incentive to make it.
ReplyDelete