Ironing Board Cover Tutorial
I'm sure you've heard the phrase "Haste makes waste"... Well I'm here to tell you that... Yes, it really does. My ironing board cover has long been in need of an update, but, well, honestly, it sure wasn't real high on my list of to do's because ugly or not it still worked!
Enter in a rush of trying to get projects done before vacation.
Enter in fusible webbing.
Rushing + fusible webbing + wrong side up/down (whatever) = ruining an ironing board cover.
After I came home from vacation I went to get my hoard of mail and in it was a new West Elm catalog. At the first chance I got, I sat down to look at it. And then while flipping through the pages, I saw this!
{source: westelm.com}
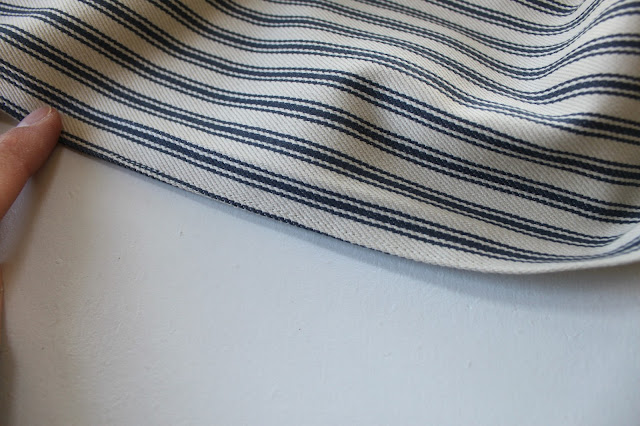
I knew immediately I had JUST the fabric for my new cover!
What do you think? Very West Elm-esque, right?
Let me tell you the story about this fabric (and plenty of other fabric in my house). Once upon a time, our local Habitat Restore had a HUGE amount of remnant bolts of upholstery fabric. This is the best part. $2 for solids & $7 for prints. Yep. That's right. So the fabric for this cover cost me maybe $1! But not anymore. It's all gone. Sad :(
On to the tutorial!
First let me show you the before pictures.
Pretty bad. Maybe my ruining it was a blessing in disguise :)
First of all, we need to take off the old cover.
Mine had this string, held in place by this metal clasp. Snip it off, unless you decide to re-use it, then you would want to remove the clasp and un-knot the string. I chose to put elastic in mine so I didn't need to worry about keeping the string long.
Loosen the cover and remove.
Then you are left with this. Remove the foam and set it aside. You will keep this to go under your new cover.
I decided to keep my string, never know when it might come in handy :)
Then lay your ironing board on top of your fabric.
I SO CLOSE had enough to be able to make it all in one piece, but just not quite...
Since I needed to piece my fabric (most fabrics are not wide enough and will need to be pieced), I slid the board down so the back end of the ironing board was off of the edge. I wanted my piecing to be on the back of the board rather than on the front.
Then I made small marks at random intervals, 3" out from my board. This gives you enough room to make a casing for the elastic and still hug around the bottom for a snug fit. Then cut along your marks.
Once I had the main part done, I laid another piece of fabric, overlapping the main piece by 1/2" for a seam allowance and made sure to line up the stripes. Then I continued marking the same way I did the rest of it.
Cut it out, and you are left with an ironing board shaped piece of fabric.
Then turn your 2 pieces right sides together and pin. I tend to pin alot :) Especially when lining up stripes. Sew with a 1/2" seam allowance.
Then press your seam flat and it should look like this.
Next step is to fold the edge under 1/4", press and sew, to give a nice clean egde. Other options would be to serge or zigzag.
I sewed close to the edge and then used that line as a guide when sewing the casing shut.
Next, to make the casing for the elastic, fold edge under 1/2" and press. Since the top of the ironing board has such a sharp curve the fabric will bunch quite a bit when you fold it under. To help with this, I sewed a gathering stitch and gathered it slightly so it would curve nicely across the top and pinned it in place.
To sew a gathering stitch, set your stitch length to the longest possible. Then sew a line slightly above the existing stitch line. Do not backstitch. Then pull the top thread gently, this will gather your fabric. Distribute the gather evenly throughout the curve.
Along the bottom, it is the same challenge. But since the curves are not as long I just pinned in a few tucks to accommodate the extra fabric. You could do this along the top too, but since it's a longer curve I think the gathering stitch worked better.
Then stitch your casing shut, leaving about an inch to insert your elastic.
Then using a safety pin, pinned to one end of your elastic, sit down and make yourself comfy and work it through the casing. (This is not my favorite part!)
This is the last step though, so after you have your elastic threaded all the way through, zigzag the ends together and stitch your opening shut. Then you have a new cover to put on your ironing board!
I really had no idea how much elastic I needed, so I used a 3 yard piece and tried it on my board after I had it threaded through and then cinched it until it was nice and snug. I used a little less than 2 yards.
Then sit back and enjoy your "new" ironing board!
And the "Before & After"
I am quite happy with it! So if your ironing board needs a face-lift give it a try!
I'm linking up with Flamingo Toes & tatertots&jello
!


No comments
Post a Comment
Jump in the conversation! Leave some comment love...