
Anthropologie Inspired Skirt - DIY How-To

Hello Readers!! So glad you stopped by today! Seriously, all of you coming to this blog and reading my posts just absolutely makes my day, so thank you!! :)
I am going to warn you from the start, this post may get wordy. There is a lot to explain today :) I am writing this how-to assuming you already know basic skirt construction. But PLEASE do not hesitate to ask me any questions!
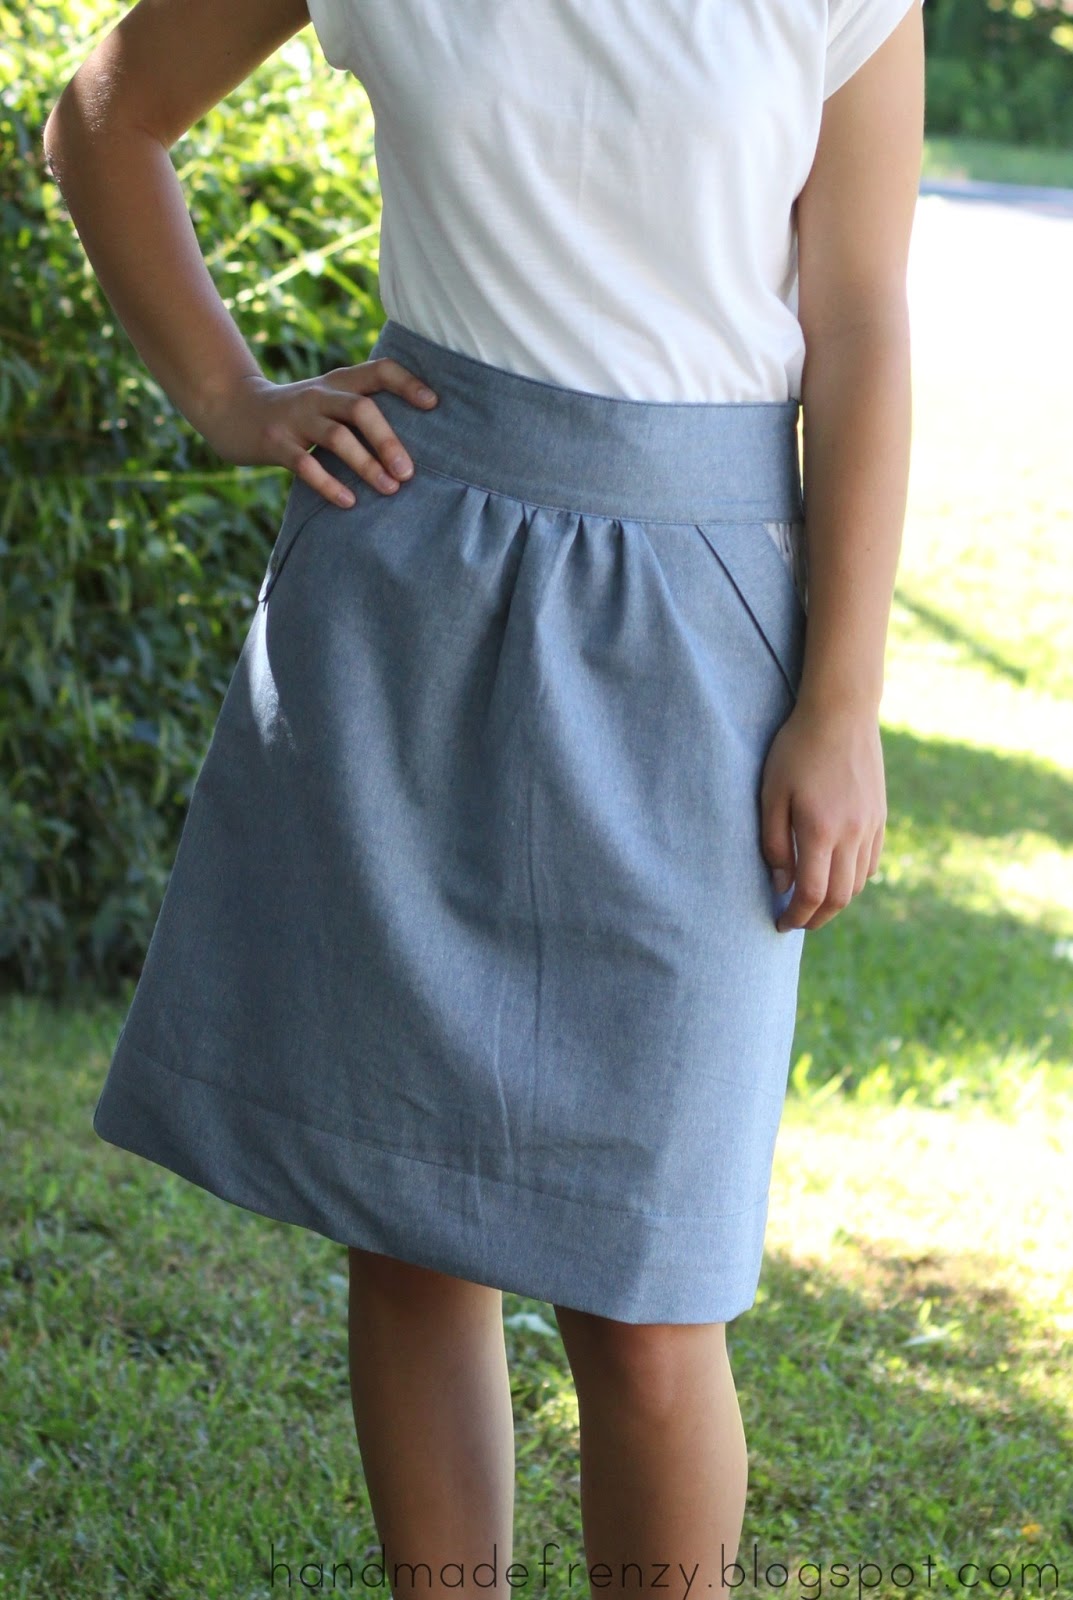
I'm going to walk you through the steps to creating your very own Anthropologie Inspired Skirt! I had such a blast making this skirt, however it was for my sister, and let me tell you it was pretty hard to give it up. But, being the loving sister I am, I did... :)
So to start off, I measured her waist where she wanted the TOP of the skirt to sit. Then, I planned to do a 3 inch waistband, so I measured 3 inches down from there on her waist. The difference was 1", so I tapered the waistband 1" from top to bottom. On me, a 3" waistband would have had to have been tapered about 2". So make sure you measure your waist to get a perfect fit!

To get the waistband measurement, first divide your BOTTOM waistband measurement by 2. So let's say the bottom measurement is 32".
Your front waistband piece will be 17". 16+1" for seam allowance (sa). (If your fabric has no stretch at all you may want to add 1/2 - 1 inch for ease, no ease necessary if the fabric has some stretch)
Your back waistband will be 20". 16+1" for sa+3" for shirring. (Again add ease if necessary)
Cut 2 of each front & back waistband pieces, tapering to 1" smaller at the top (1/2" on each side), more or less, depending on your measurements.
To figure the skirt pieces, take the waistband measurements and add your desired amount for gathering. For this skirt I added 4" to both the front and back panel for gathering. I also cut the skirt panels at a slight A-line.
Here is where I would change it up for my body type rather than hers. My sis is tall and thin, I am kinda short and average and have a really short-waisted torso. Even so, I really figured this skirt would look ok on me as well, but as it turns out that much gathering is just not flattering on my hips or bum. :)
So when I make this skirt for myself, which I will (must. put. on. too long sewing list...), I will add only 1 - 2 inches for gathering in the front, and probably no extra, other than the shirring in the back. I will also not make it A-line, I will cut it straight and even possibly, slightly pencil shaped. Just a more flattering shape for me. So this is something to consider when making it for yourself!
Now on to the pockets. I'm sorry, I don't have step-by-step photos for you. But if you have questions on anything, please don't hesitate to shoot me an email or ask in the comments!

For the pocket flap, cut 2 for each pocket (4 total), sew with right sides together where indicated on the template, then turn right side out and top stitch those edges. Then on the front panel of the skirt, make a pocket "sandwich". With the right side of the skirt panel up, place the pocket flap also right side up with raw edges lined up, then the pocket lining, right sides together with the skirt. Sew along the edge and turn lining under, and voila! you have a pocket with a fun flap! Topstitch along that edge as well to keep the lining down. I did not sew the flap down anywhere else, the button does a great job at keeping it in place.
Next complete the pocket and assemble the skirt to the waistband, keeping the gathering fairly centered, away from the pockets.

Now for the zipper. I used an invisible zipper, and be kind... It was my first one. :) I'm pleased with how it turned out, for a first try. But I'm not so pleased with my invisible zipper foot. The foot did not allow the needle to get close enough to the zipper teeth to hide all of the zipper when closed. Next time I will be using my regular zipper foot for sure. And here is a GREAT video tutorial on how to do this whole process.

I added a tag, just for fun. Makes me feel all professional :)
Now for my absolute FAVORITE feature. The shirring.

When I first started on this, I had planned to use elastic thread in the bobbin to do my shirring. Well, I tested it out on scraps of the fabric I was going to use. It didn't work so great so I had to figure out something else. That's when I started googling and searching Pinterest and remembered this method that I had seen before using elastic cording. What you will do is on the back side of your project, zigzag over the cording, while stretching it slightly. Make sure the zigzag stitch just barely clears the cording, but also don't sew ON the cording because you will need to pull it to gather the fabric. This post explains it so much better than I can, and even has pictures! :) I found it to be very helpful when doing this.

In the beginning I figured 3 inches for the shirring, I did a 9 inch row of cording then pulled it to 6 inches. I did this with each of the 5 rows of cording.

Now for what I did to keep that cording from pulling out when it was stretched... I knew it needed to be something pretty heavy duty since it was going to be slightly pulled when being worn. So this is what I came up with.
You can see it just a bit in the photo below. At the end of each length of cord, I did a satin stitch vertically across, passing over twice. Then to be absolutely sure, I straight stitched with a high stitch count over the satin stitch twice. Seriously, I wanted to be sure it wouldn't let go! :) I tested it and it is really holding that cording! Make sure to do this with a thread that matches as closely as possible to the fabric.

And then I hemmed it up with a nice wide 3 inch hem to match the waistband and I was DONE!

One more look at that shirring shall we?

Thank you so much for stopping by, I hope you give this one a try!
Happy Sewing!!!


Linking up here:
No comments
Post a Comment
Jump in the conversation! Leave some comment love...