
Little Girl Pleated Skirt Tutorial

Today I'm going to show you how I made this fun little skirt for my little lady. I am loving the color-block trend lately and thought I would try my hand at it.
I decided on pleats and a flat front waistband, based on the one I made for myself. (See here)

I chose to do a simple elastic waistband in the back and I actually really love the look it created with the pleats.

Love those chubby little knees peeking out there! :)

Since pockets are always SO much fun and add such whimsy to little clothing, I added some rounded ones to this skirt and accented it with pink piping to make them pop.

And they're good for hiding little bribery treats in for photo shoots as well. ;)

Let's get started with the tutorial shall we??
The sizing for this skirt is 24mo/2T. Olivia is 21 months and this is a good fit and length on her.
Waist measurement: 18". Overall skirt length: 9"
For the front panel: I divided the waist measurement by 2, added 1/2" for ease, 1" for seam allowance and 5" for pleats.
For the back panel I did the exact same, but added an additional 2" to give room for the skirt to fit over her diaper when putting it on. (This will be cinched in with elastic)
What you will need to cut:
- Waistband - Front: 2pcs - 2"x10 1/2"
- Waistband - Back: 2pcs - 2"x12"
- White Panel - Front: 5"x15 1/2"
- White Panel - Back: 5"x17"
- Green Panel - Front: 3"x15 1/2"
- Green Panel - Back: 3"x17"
- Pink Panel - Front: 3"x15 1/2"
- Pink Panel - Back" 3"x17"
- 3/4" Elastic: 9"
- Pocket pieces, right & left (template here)
Begin by cutting out the waistband pieces.

Then cut out the pocket pieces - one right, one left.

Cut out all the skirt panel pieces.

Sew the skirt panel pieces together and finish the edges. I do this with a zigzag stitch.

I also recommend using coordinating thread to create as seamless of a color-blocking as possible. I believe it's the details that make a good project great :)

Iron the seams flat.
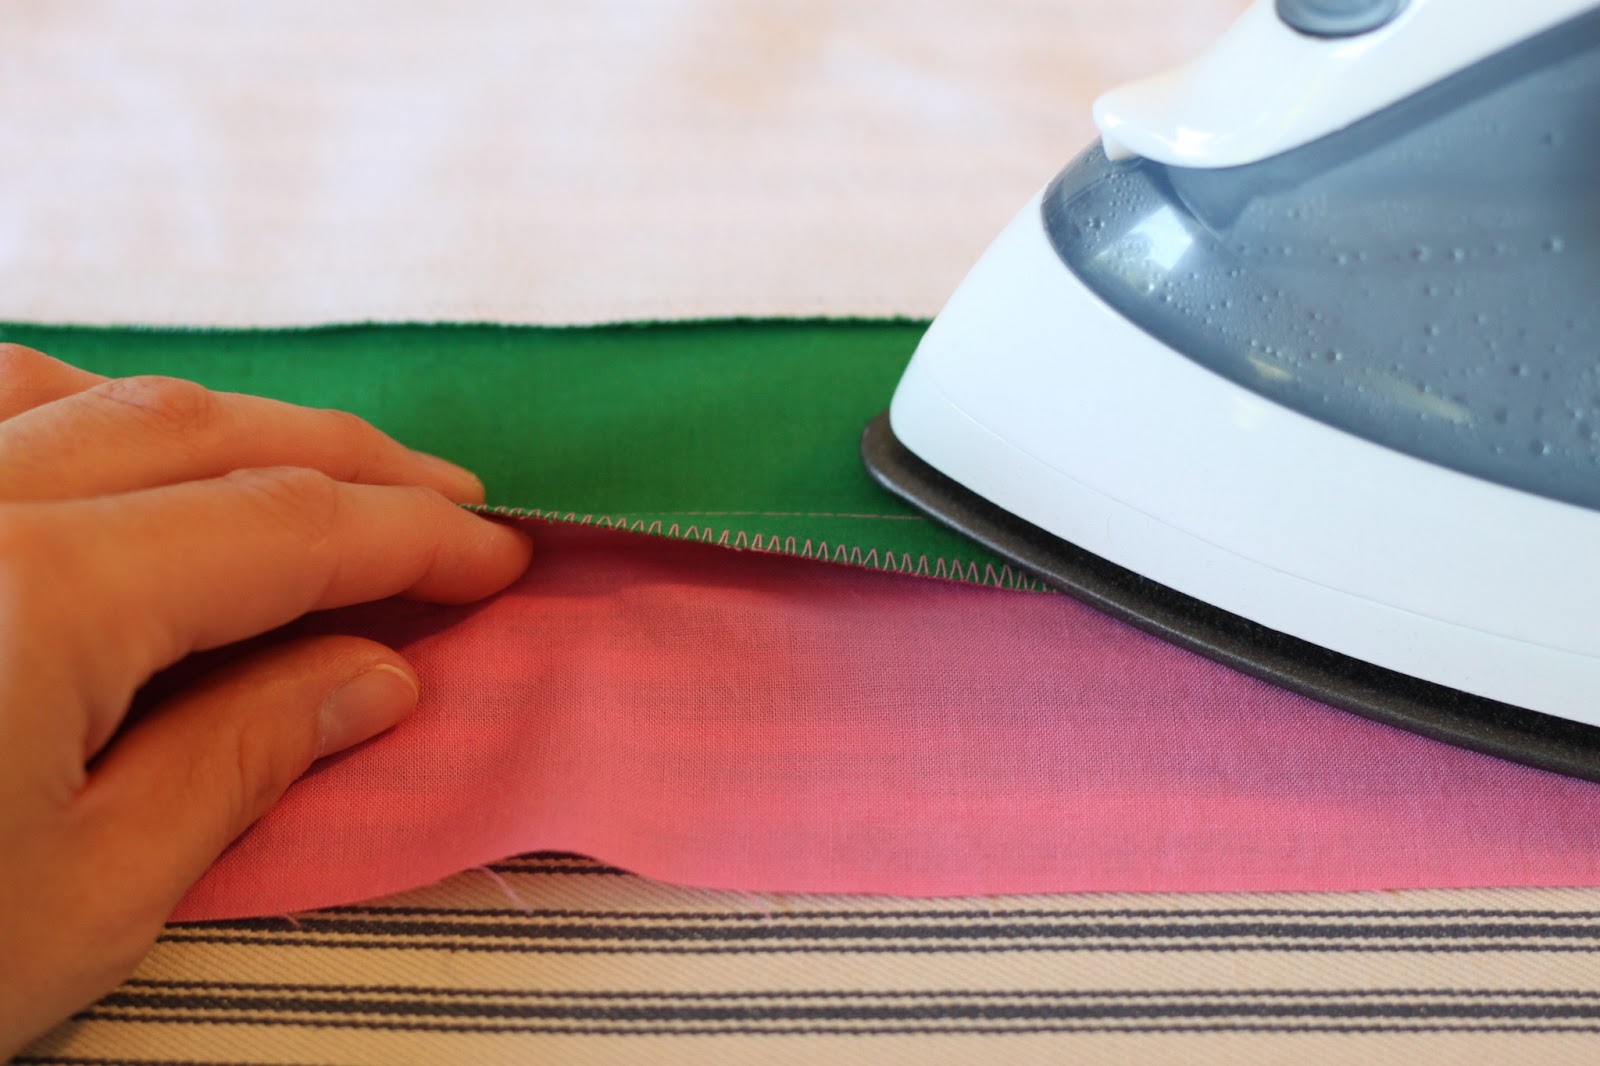

Topstitch along the edges to keep the seams laying flat. This especially is where using a coordinating thread is important.

Next, trace your pockets onto the front skirt panel.


Cut them out.

Attach your pockets and baste them in place. I chose to use piping here, I kinda love piping. :)

Now it's time to mark and create the pleats!
For the front panel: make a small mark 2" from the edge of the pocket.

{sorry, I switched from the right pocket to the left here, confusing :{ }
From the first mark you made, make another mark 1 1/4" from that, then 1/2" from that mark and then another 1 1/4" from that mark. See picture.

Now you will be folding the first mark you made to the second (where the pin is).


Repeat that process for the next 2 marks you made. Then repeat for the other side.

Now it's time for the back panel.
Make a mark 3" in from the edge, then another mark 1 1/4" from that mark, and then another 1 1/4" from that mark. See picture. (You are creating a 2 1/2" box pleat)

Fold one side in to the center, then the other side.

Repeat for both sides and then you have two cute little box pleats!

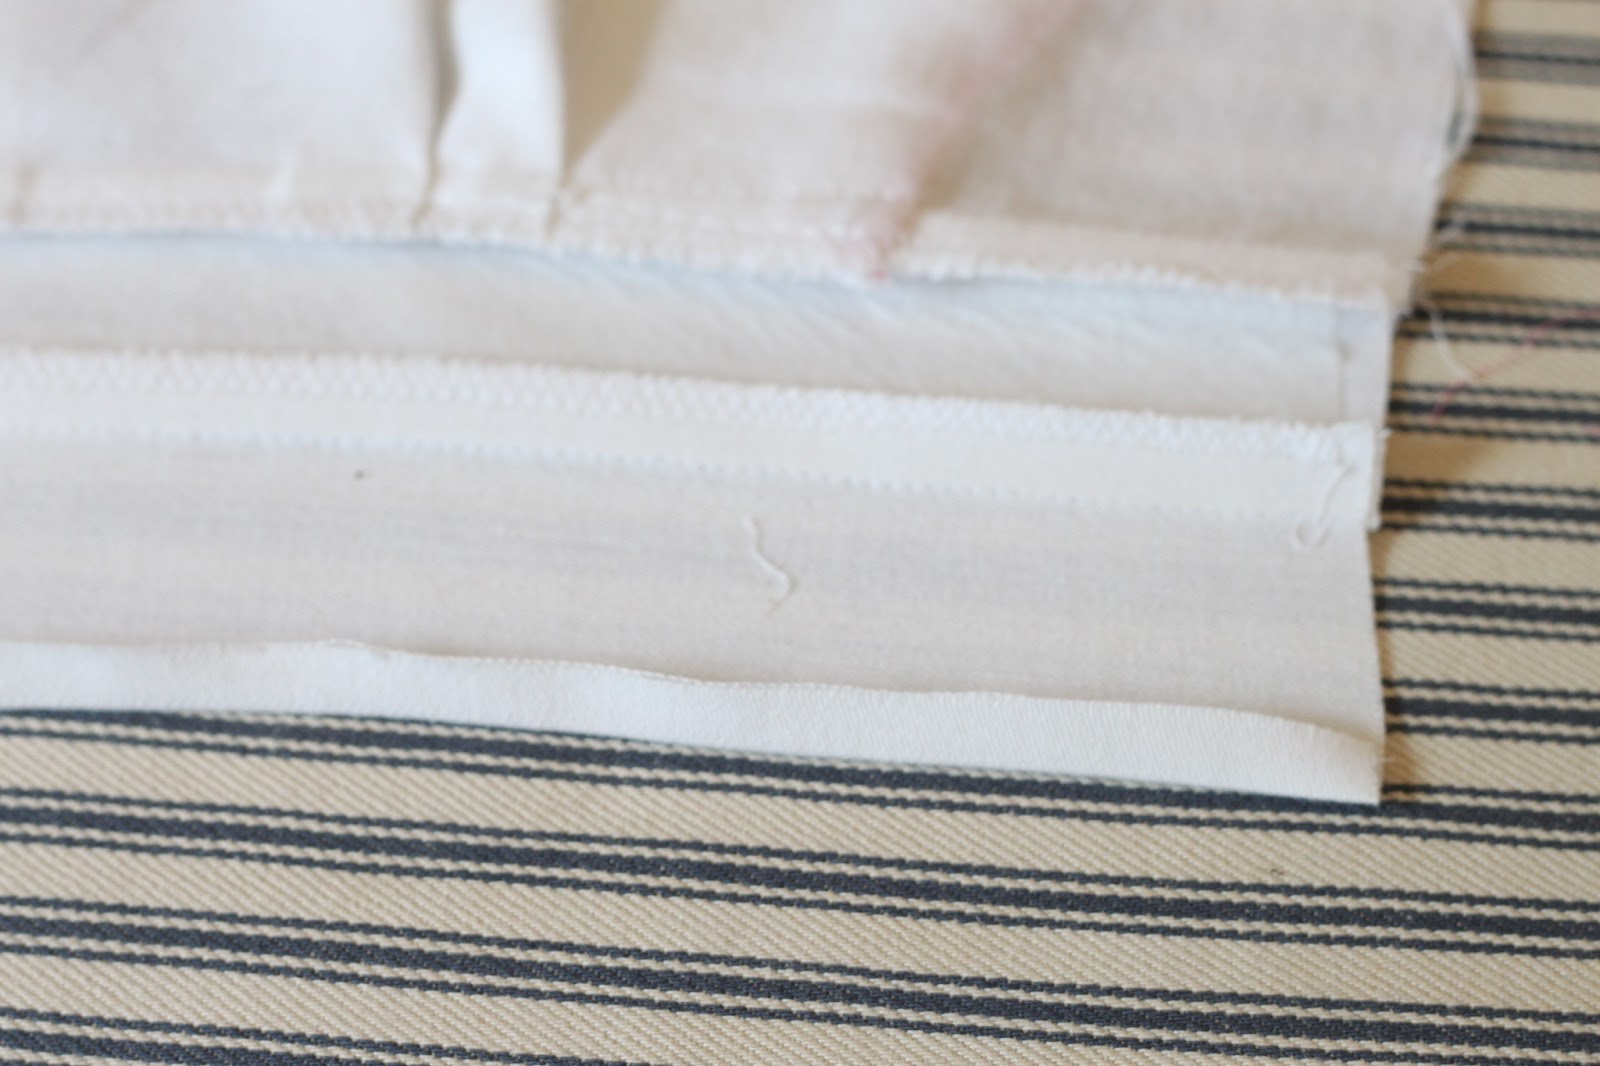
Now it's time to make the waistband. Add a piece of fusible interfacing to one of the front waistband pieces.


Sew the 2 waistband pieces together on the long side.

Iron the seam flat. On the front piece make sure you are ironing toward the interfacing side.

Pin the waistband to the skirt panel, right sides together, sew.

Now iron that seam up, again toward the front of the waistband.

Iron the remaining edge of the waistband under 1/4".
I do not have a picture for this step, next you will sew the front and back side seams, right sides together. Press the seams.
Fold the waistband down, iron the seam flat.

Top-stitch that seam as close to the edge as possible, approximately 1/8".

Pin the back waistband down. You will be sewing 1/8" from the edge again, this time on the bottom, catching the underside of the waistband to create a casing for the elastic. I like to pin "in the ditch" to make sure I'm catching the underside of the waistband. *Note, we are only doing the back side for now*


Sew. Look at your pretty waistband!

And rejoice that you caught all of the underside! :) If you do miss a spot here and there, hand-stitch it closed.

Now insert your elastic, stitch it in place at the side seams. Repeat the waistband process for the front. Hem by folding the bottom under 1/4" and then 1/4" again. Sew.
Then rejoice in your fun little skirt!!

Happy Sewing!!!

Participating:


Linking up here:
No comments
Post a Comment
Jump in the conversation! Leave some comment love...